Sitefinity Basics: Creating and Managing Pages with No-Code

Get started with Progress Sitefinity content management system: Explore the fully functional demo site and dashboard you’ll see if you start a free trial.
Progress Sitefinity is a robust content management system (CMS) designed to simplify website development while allowing for sophisticated digital experiences. From intuitive tools for marketers to flexible, extensible capabilities for developers, Progress Sitefinity brings everything needed to craft engaging online experiences. It serves as a foundation for building connected digital experience platforms (DXPs) that support cloud deployment, personalization and content management.
For more details on what Progress Sitefinity is and how it works, check out our previous article—What is Progress Sitefinity and How Does It Work?
Getting Started with Progress Sitefinity
To get started with Progress Sitefinity, users can launch a 14-day hosted free trial or opt to run Sitefinity on their own development server. The hosted trial is an ideal way to quickly explore the platform’s capabilities without needing to set up your own environment. With full access to all product features and expert support, it offers an optimal learning experience.
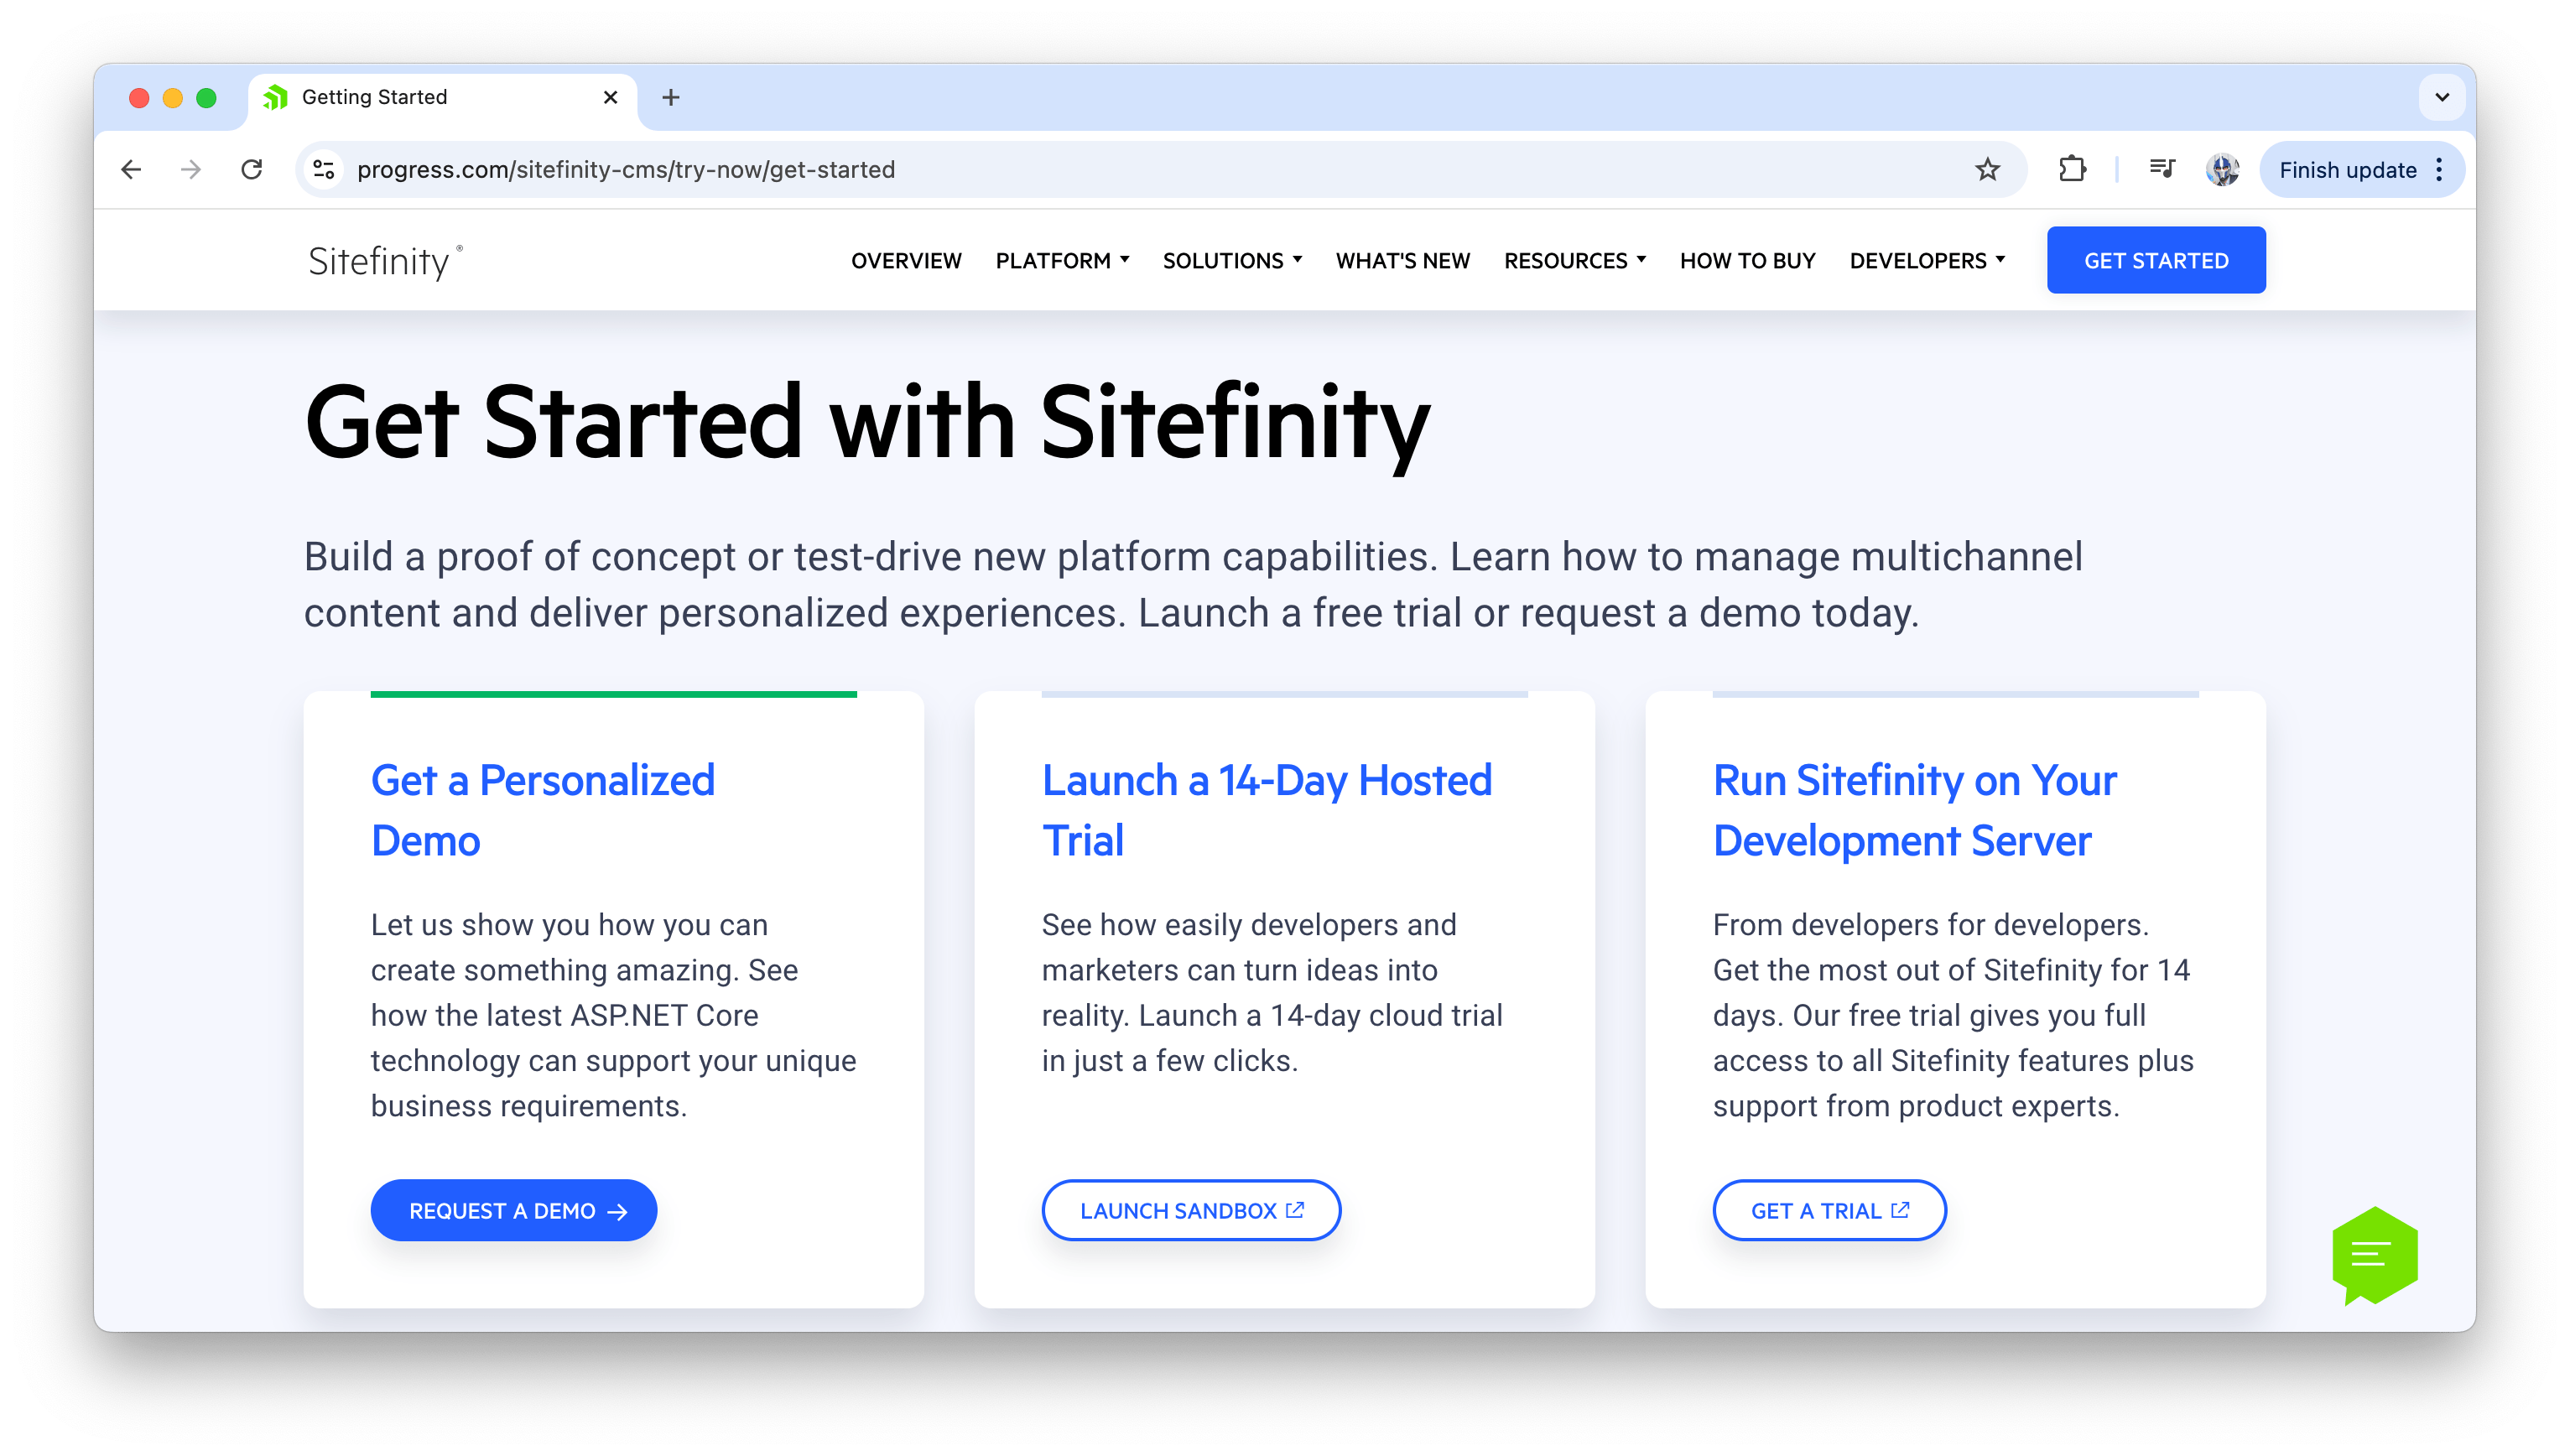
For this article, we’ll explore the demo site and dashboard presented to us from the hosted free trial. The sample site serves as a fully functional model where we can interact with pre-built content, pages and structures, providing a hands-on way to understand how Sitefinity operates.
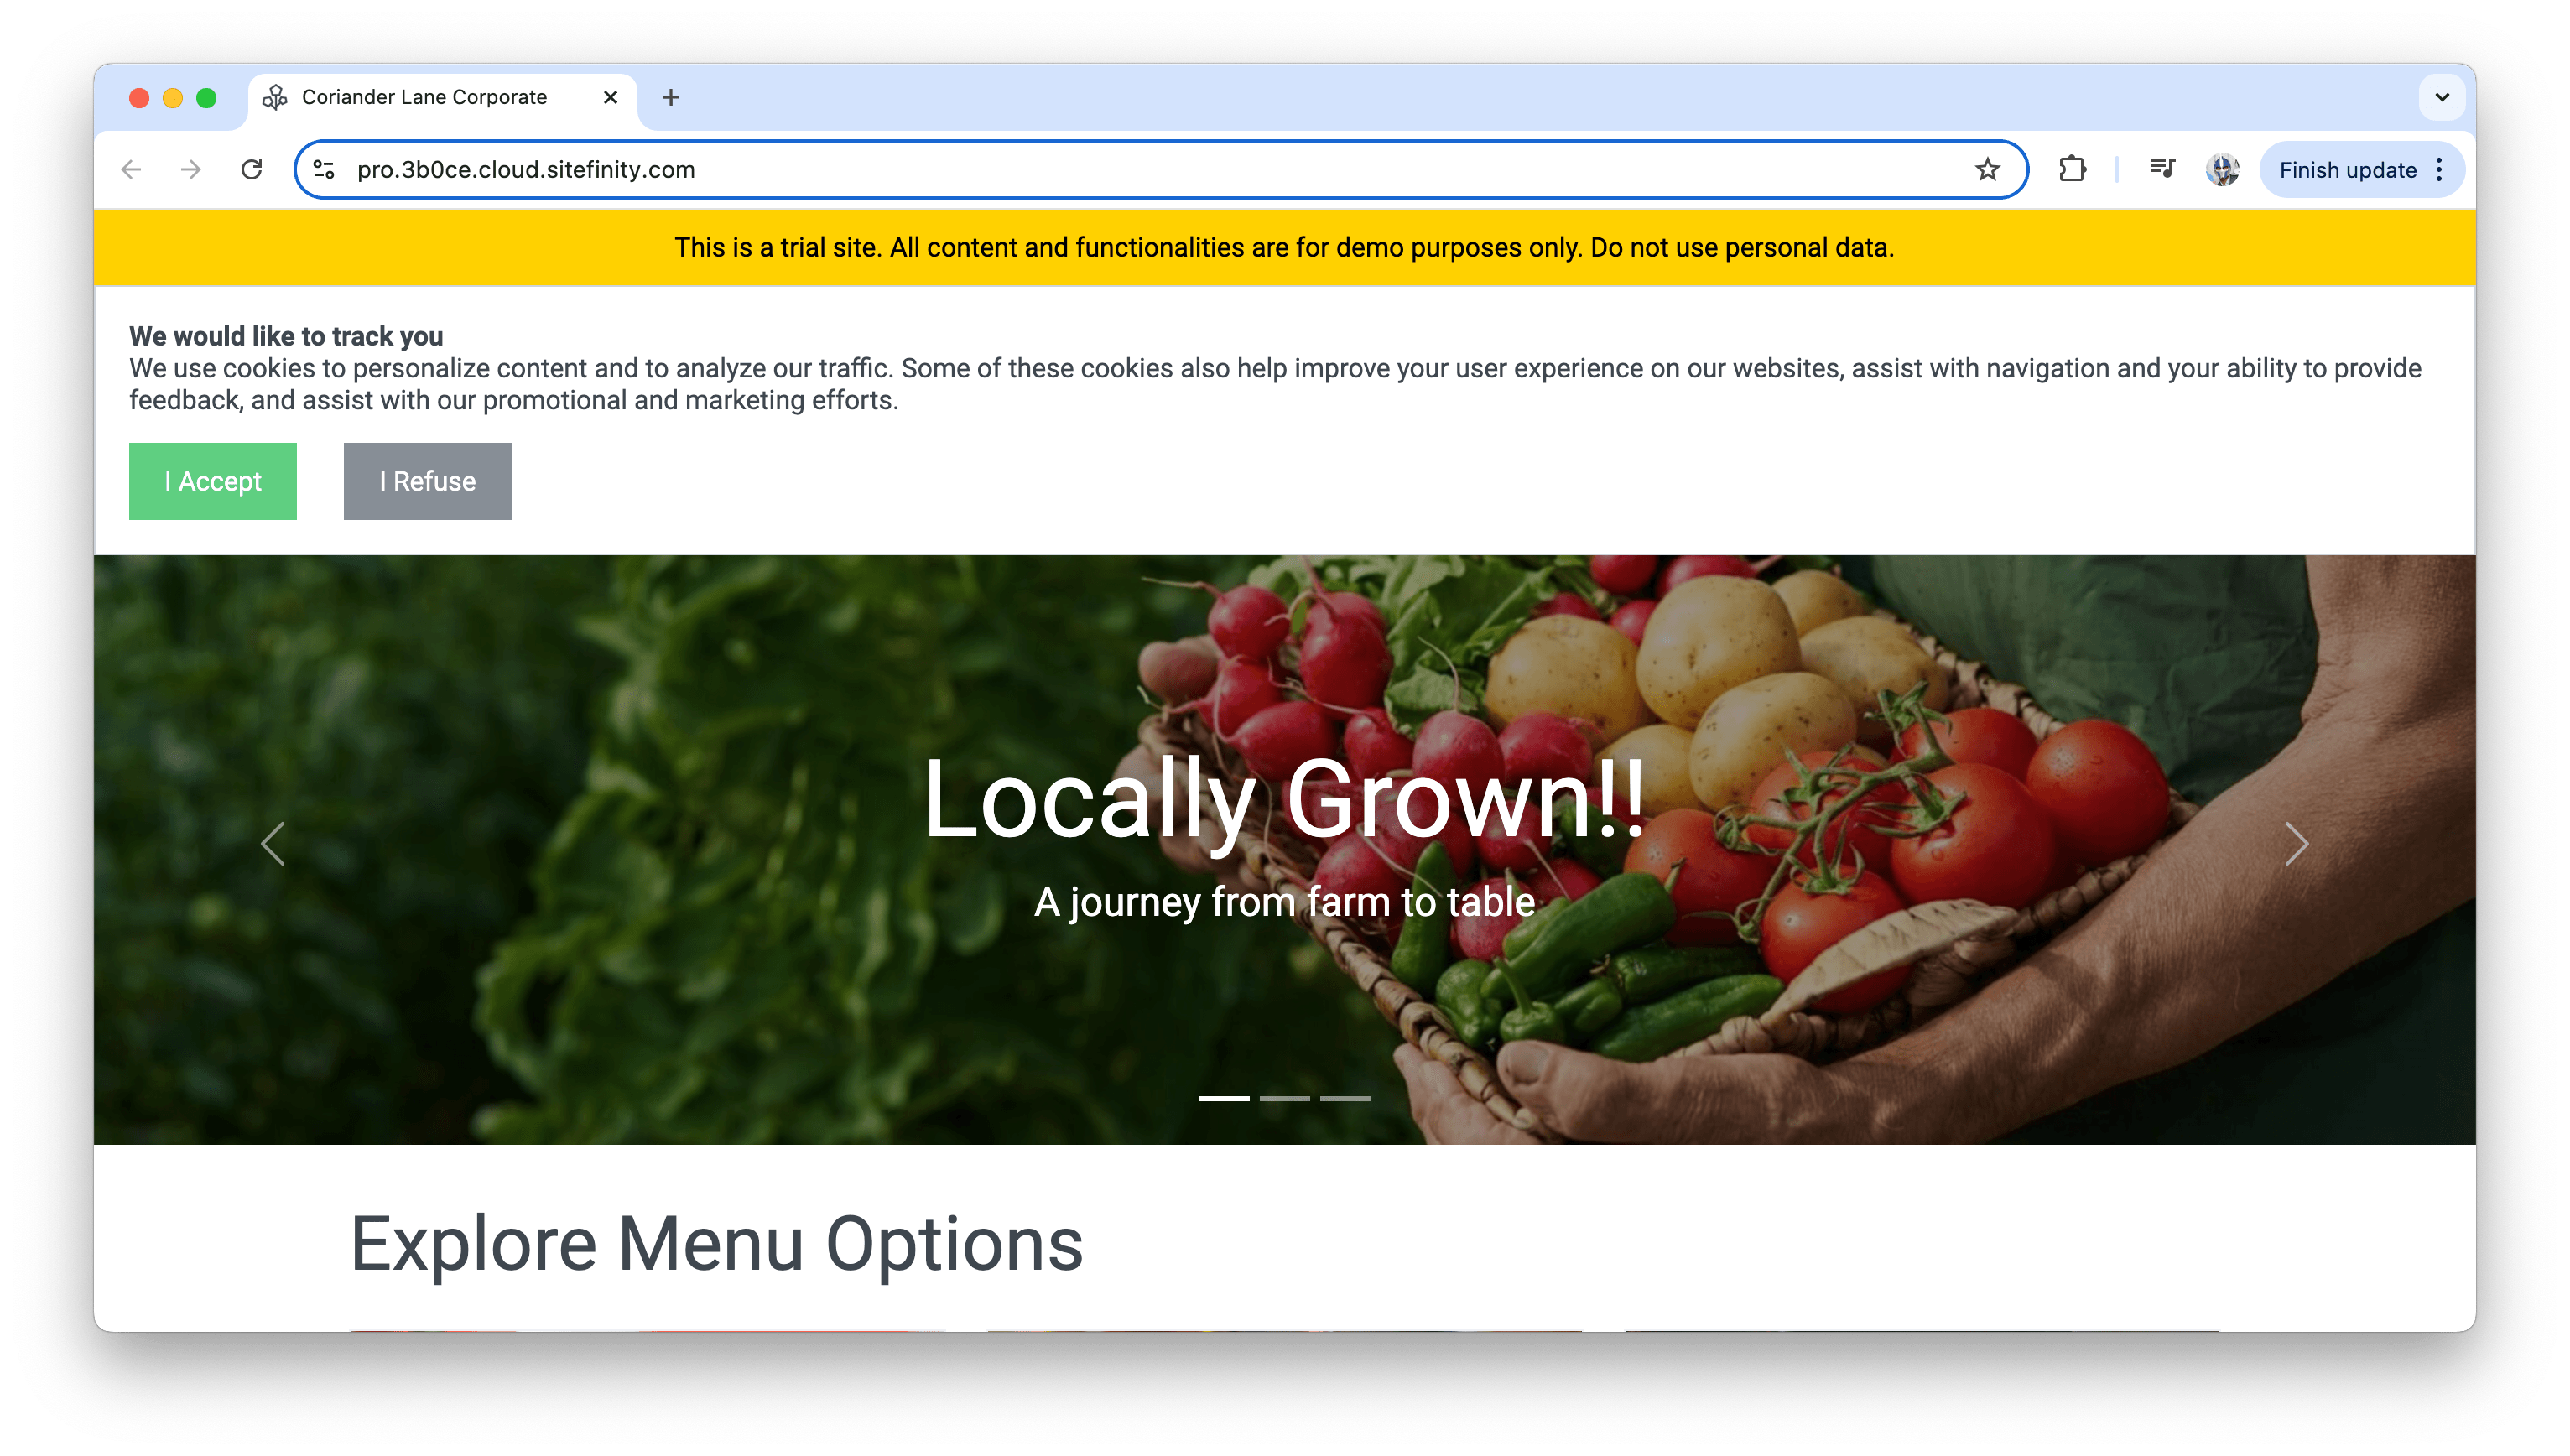
We can also access the demo site’s content management backend, which allows us to modify existing pages, create new content, and manage assets like images, documents and forms.
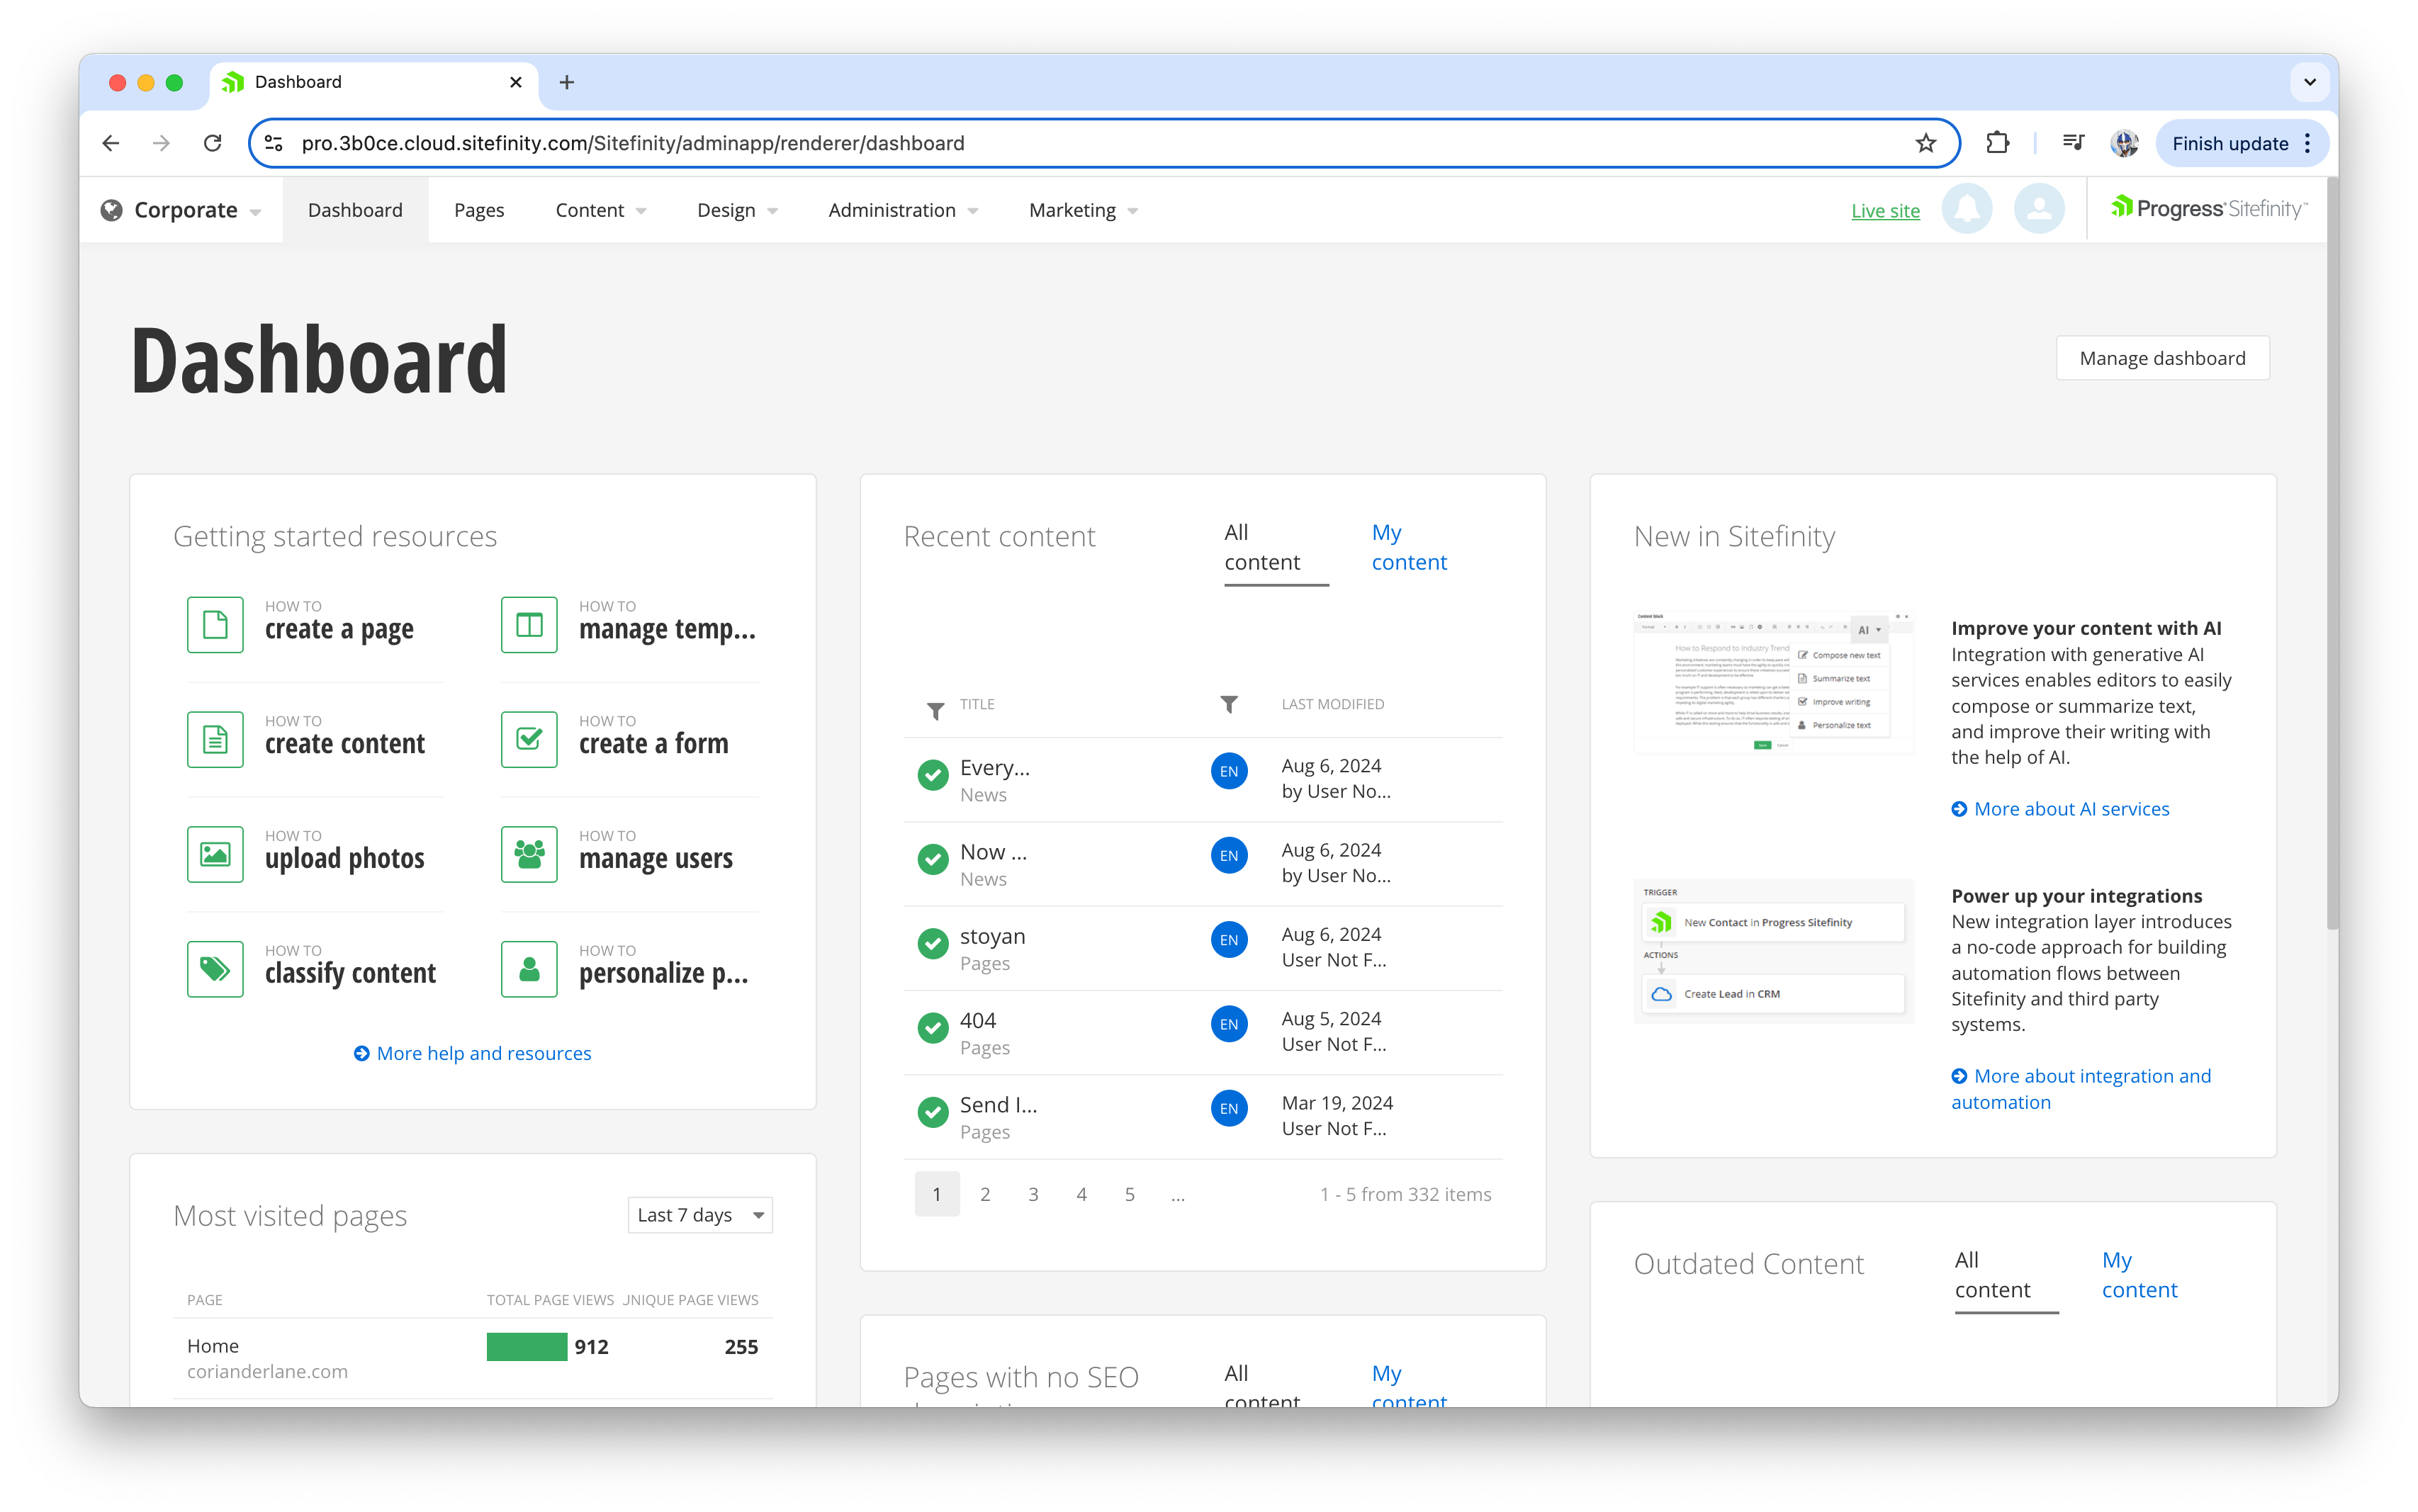
One of the major components of Progress Sitefinity is its content management backend. It allows users to create, edit and organize content efficiently. Users can leverage this backend to explore Sitefinity’s content creation capabilities, including personalizing the experience for different audience segments and optimizing the customer journey. The backend provides an intuitive experience for both marketing and IT teams to manage everything from content to workflows and analytics—essentially all tools required for website success.
Creating and Managing Pages
Among Progress Sitefinity CMS’s standout features are its no-code page creation and management capabilities. To create a page, the platform only requires the essential inputs: a page name, URL and template selection. As a result, authors can quickly generate pages without needing technical expertise, while developers retain the flexibility to make deeper customizations when needed.
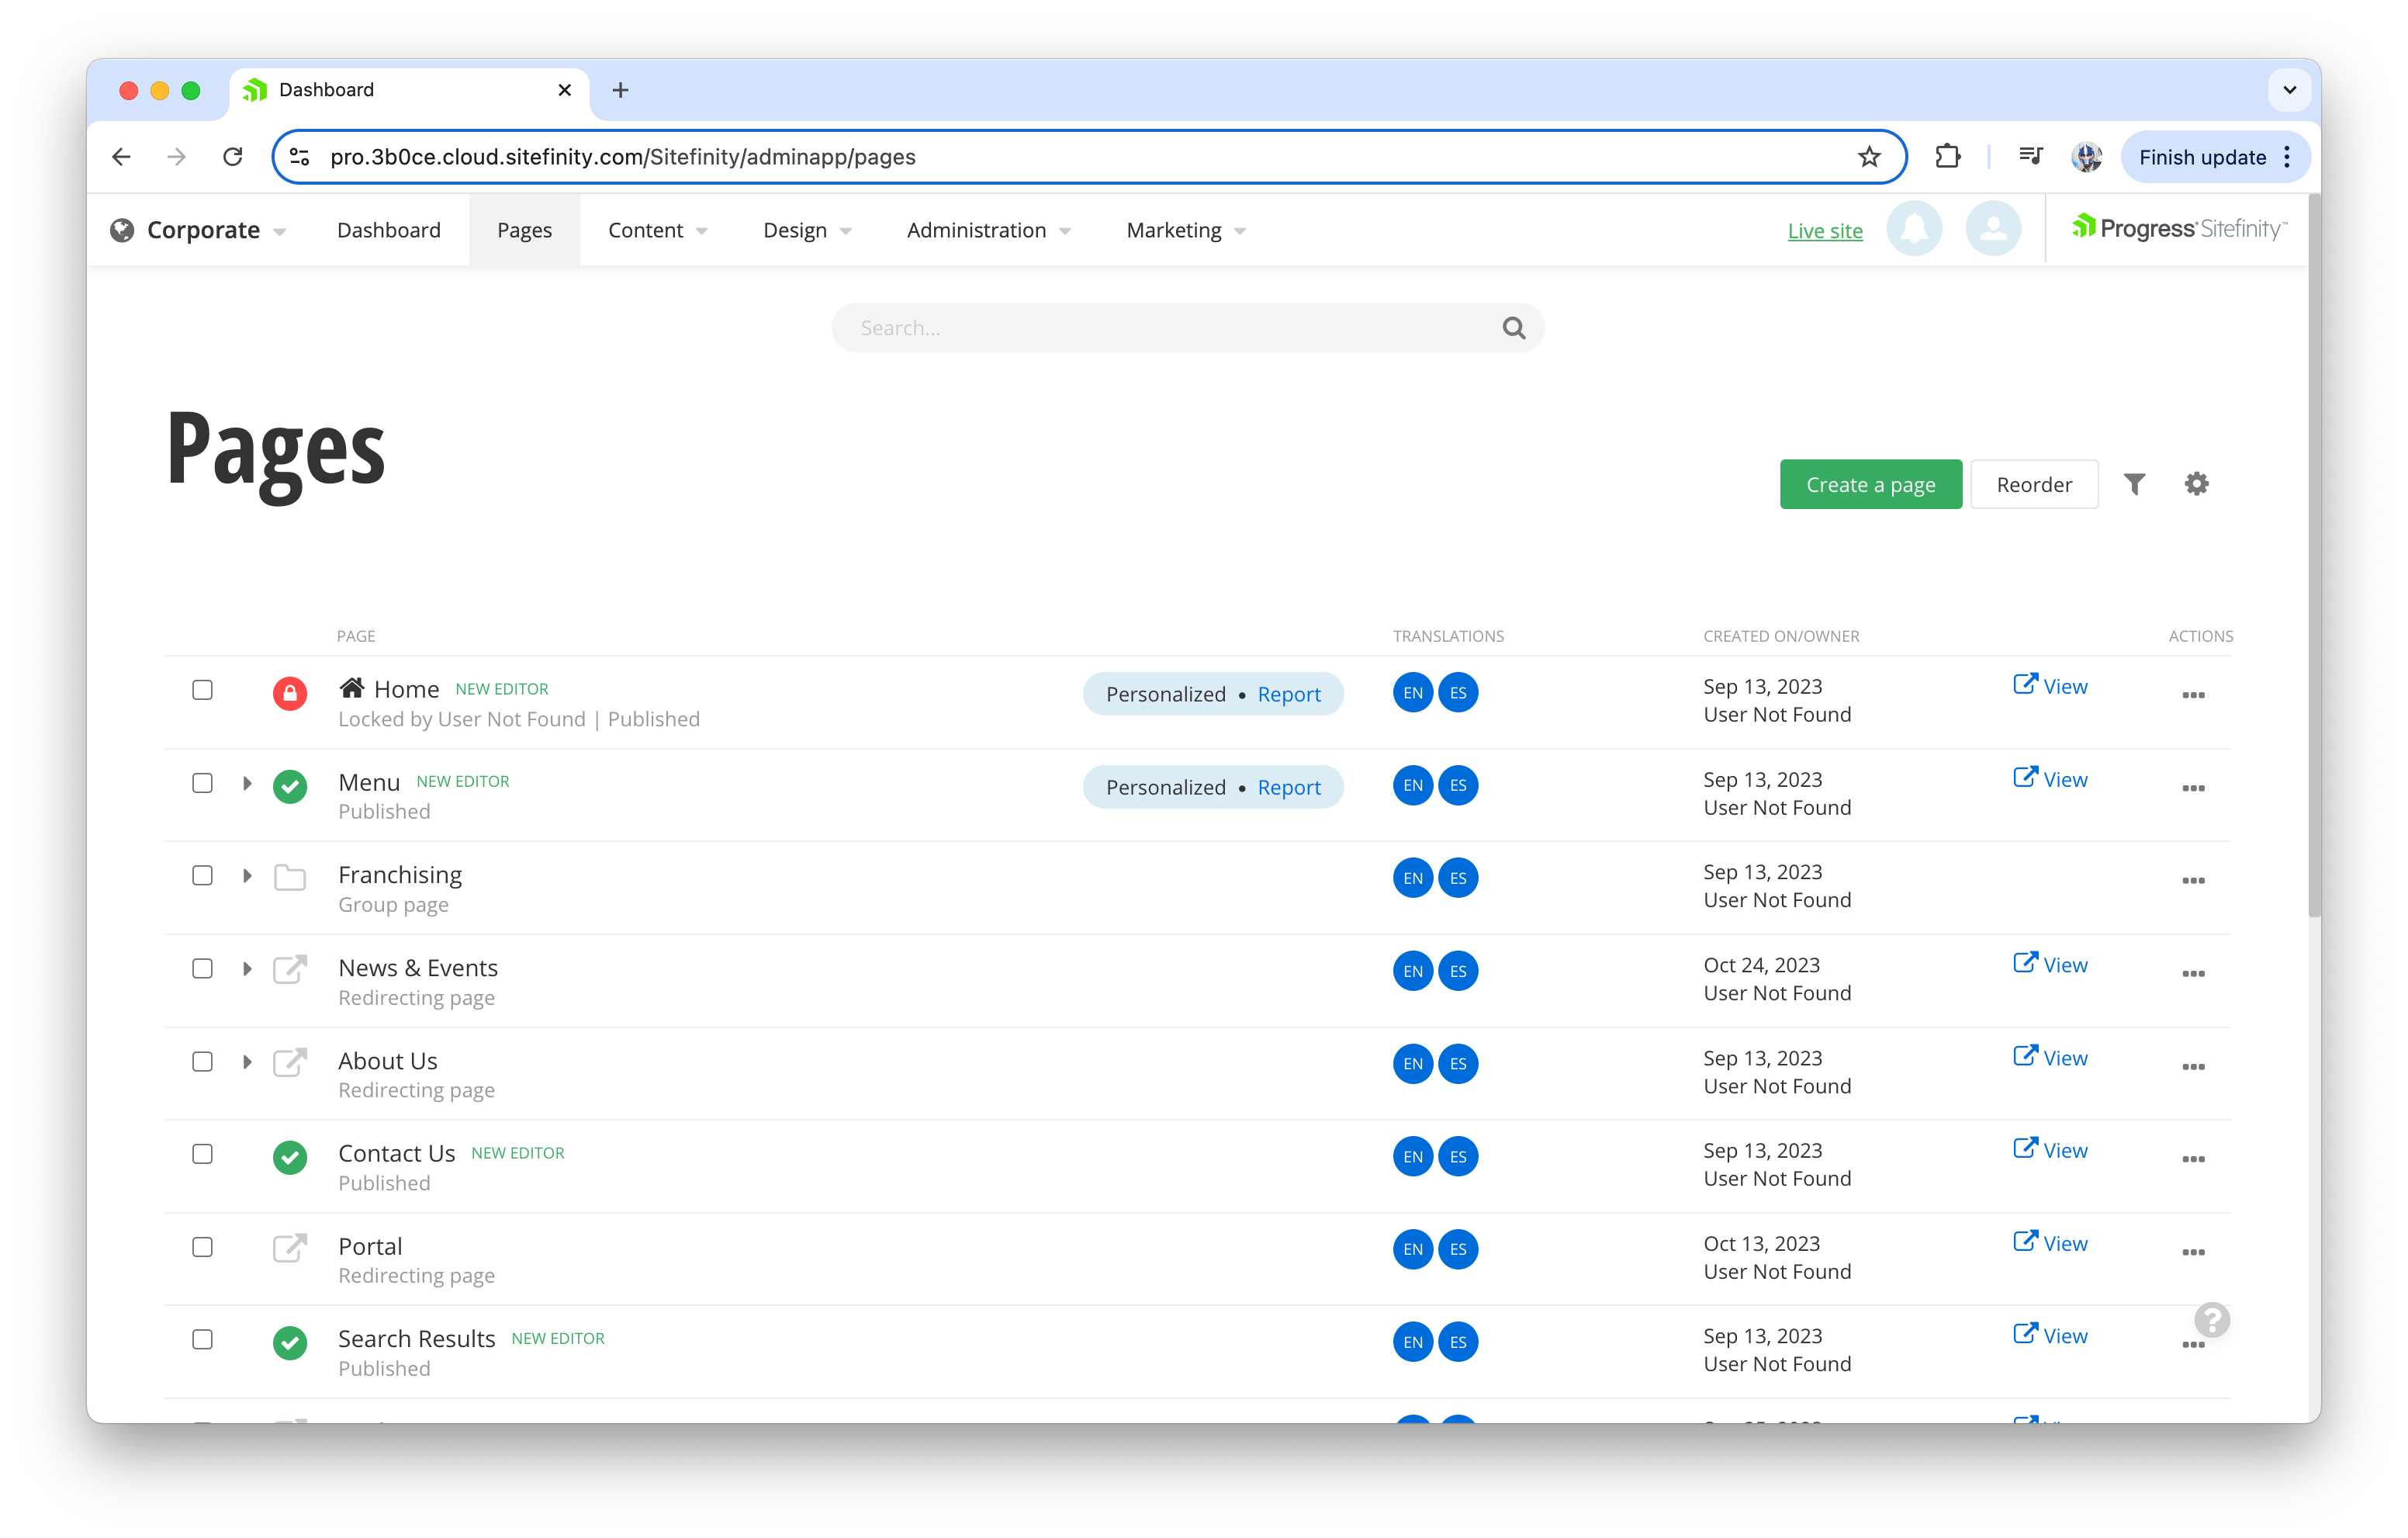
The process of creating and managing site pages begins by accessing the “Pages” section from the main menu. In the demo site, a few default pages, such as the homepage, contact page and about page, are already established, giving users a sense of structure and hierarchy within the website.
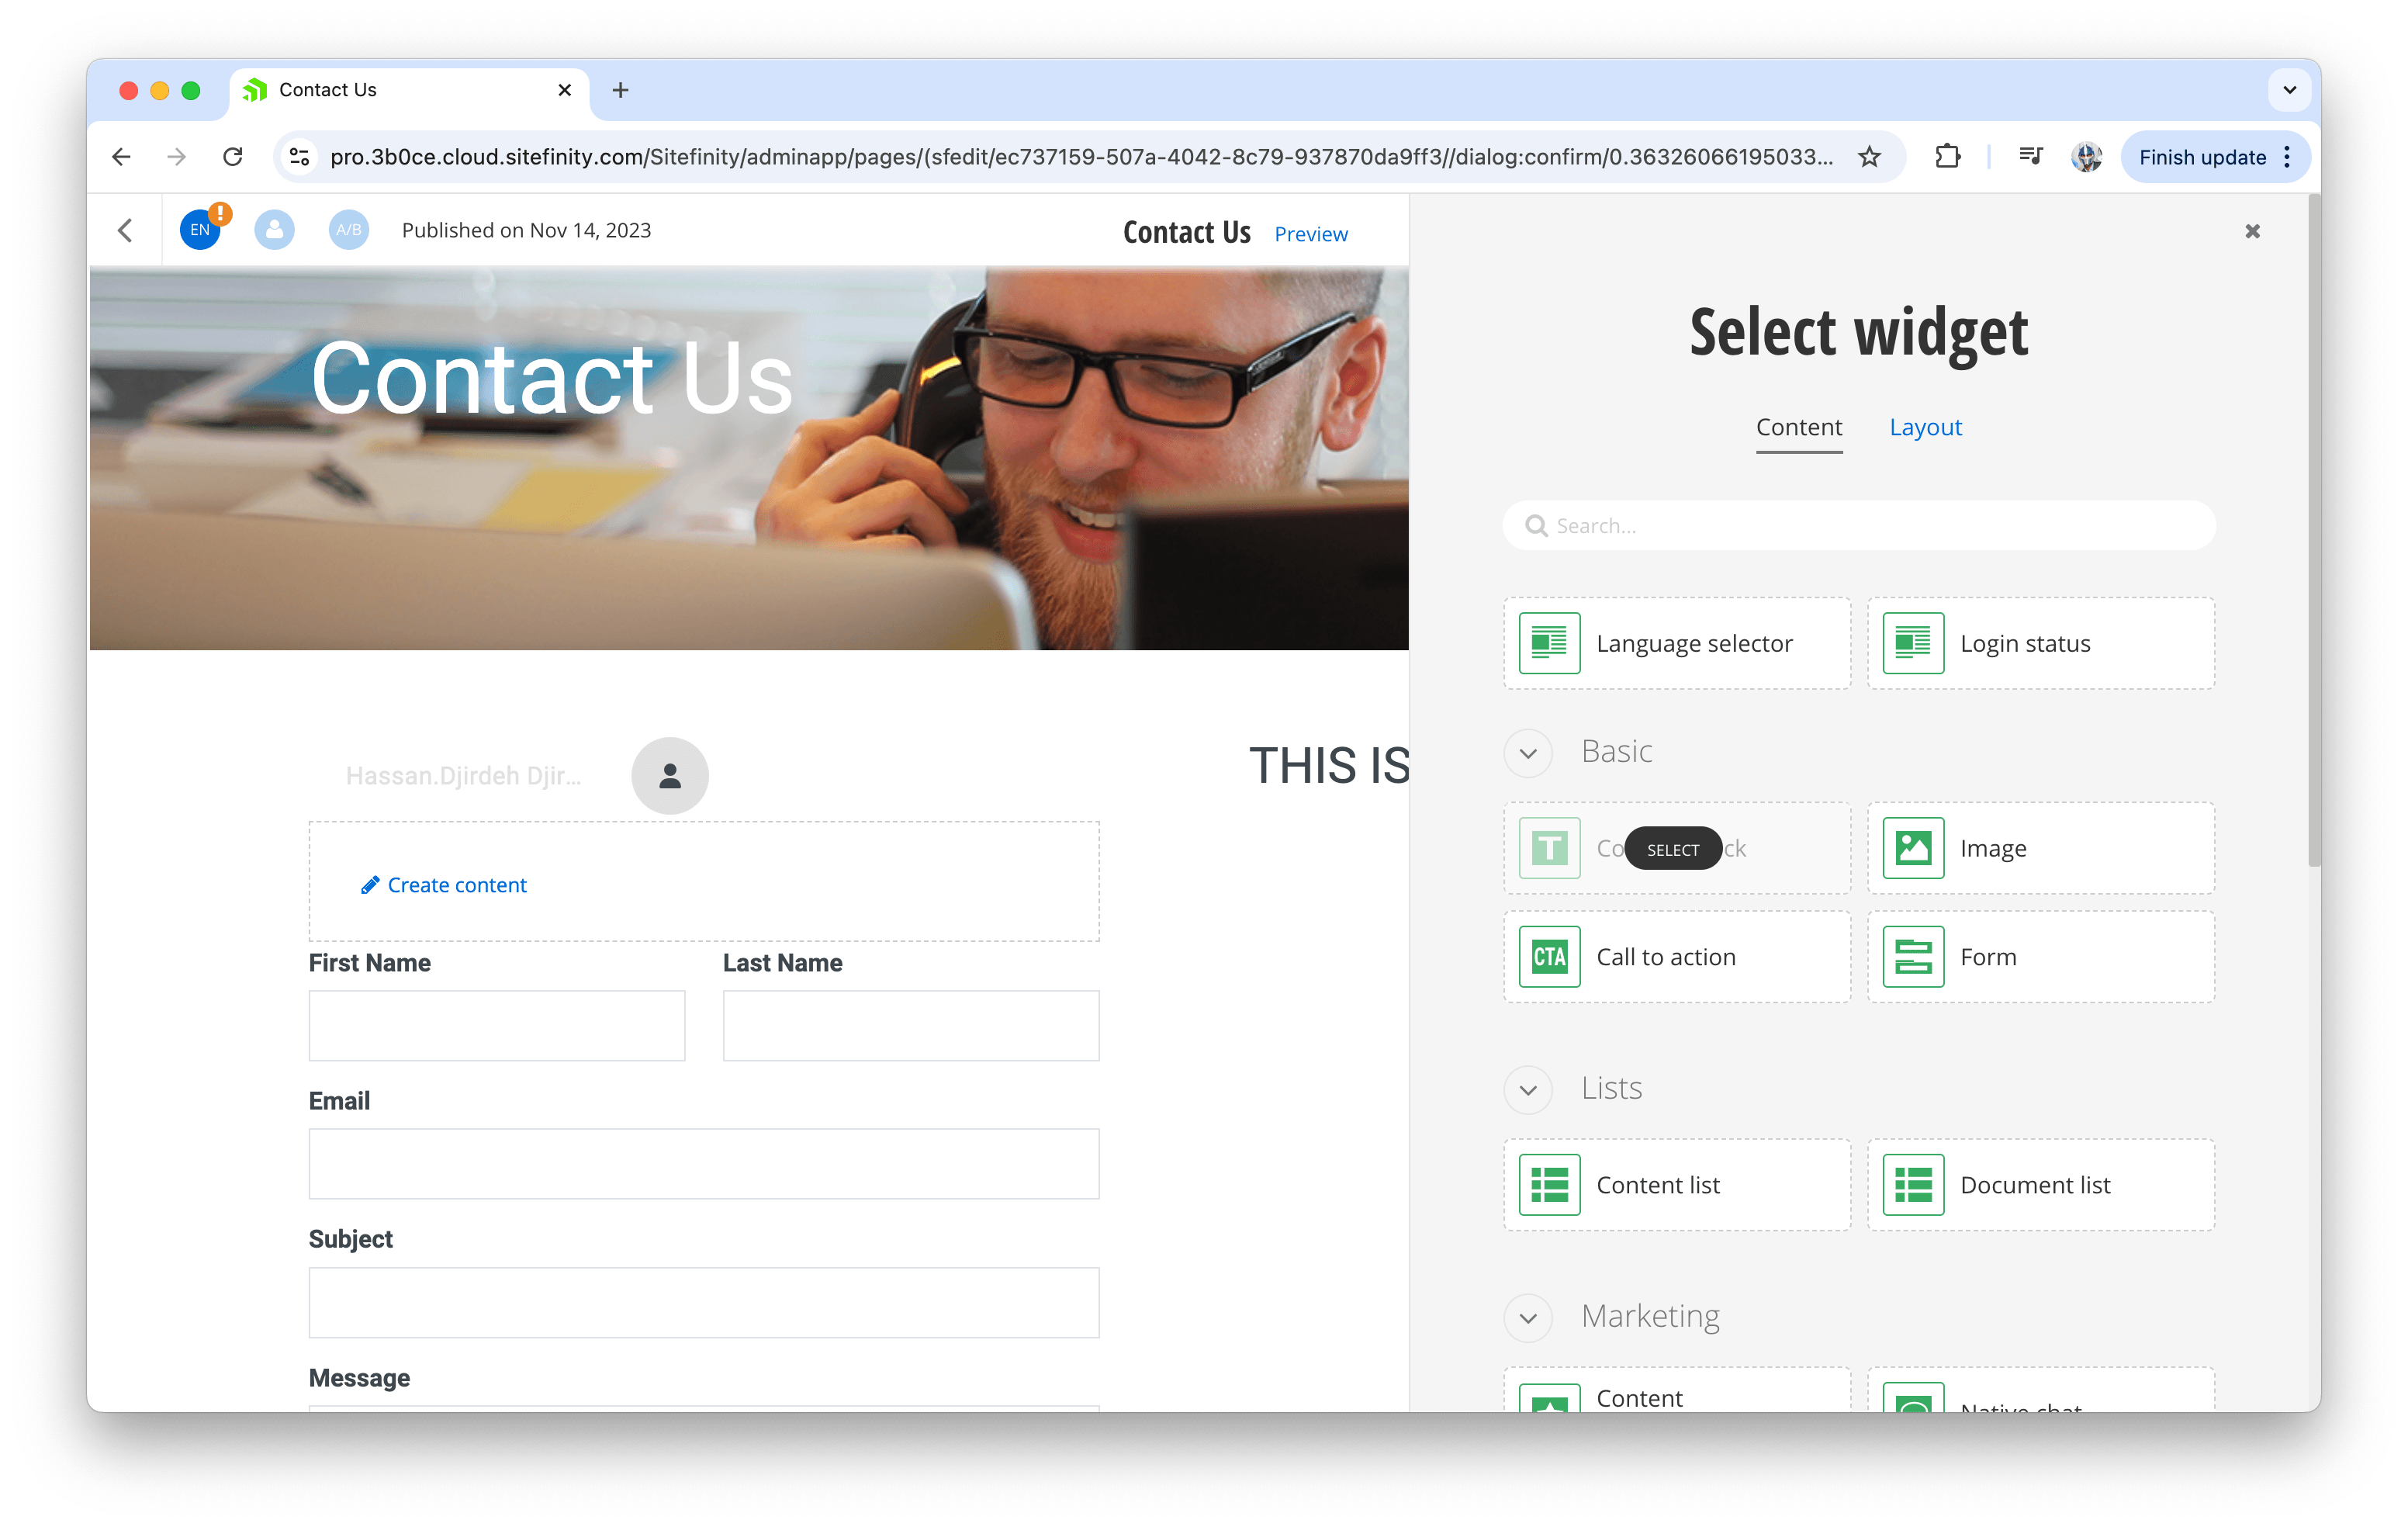
Let’s start by modifying the content on the “Contact Us” page. Here, we can easily click into the page and begin making edits directly in the WYSIWYG (What You See Is What You Get) editor. This editor allows for inline text editing, image management and layout adjustments without needing any coding knowledge.
We can also modify or add widgets to this page, such as forms, maps or social media feeds. Widgets are essential building blocks in Sitefinity that allow users to extend the functionality of their web pages without requiring any custom development. For the “Contact Us” page, we might add and customize a contact form widget that can capture user inquiries.
Next, let’s create a new page in the dashboard. From the “Pages” section, we click “Create a New Page,” and we’ll notice a set of options be presented to us. We’ll give the new page a name and URL and select a template for its layout. In this case, we’ll create a “Resources” page, which will serve as a hub for users to search and find various documents and guides.

We’ll choose the “Corporate Template” from the templates available on the demo site for the template.
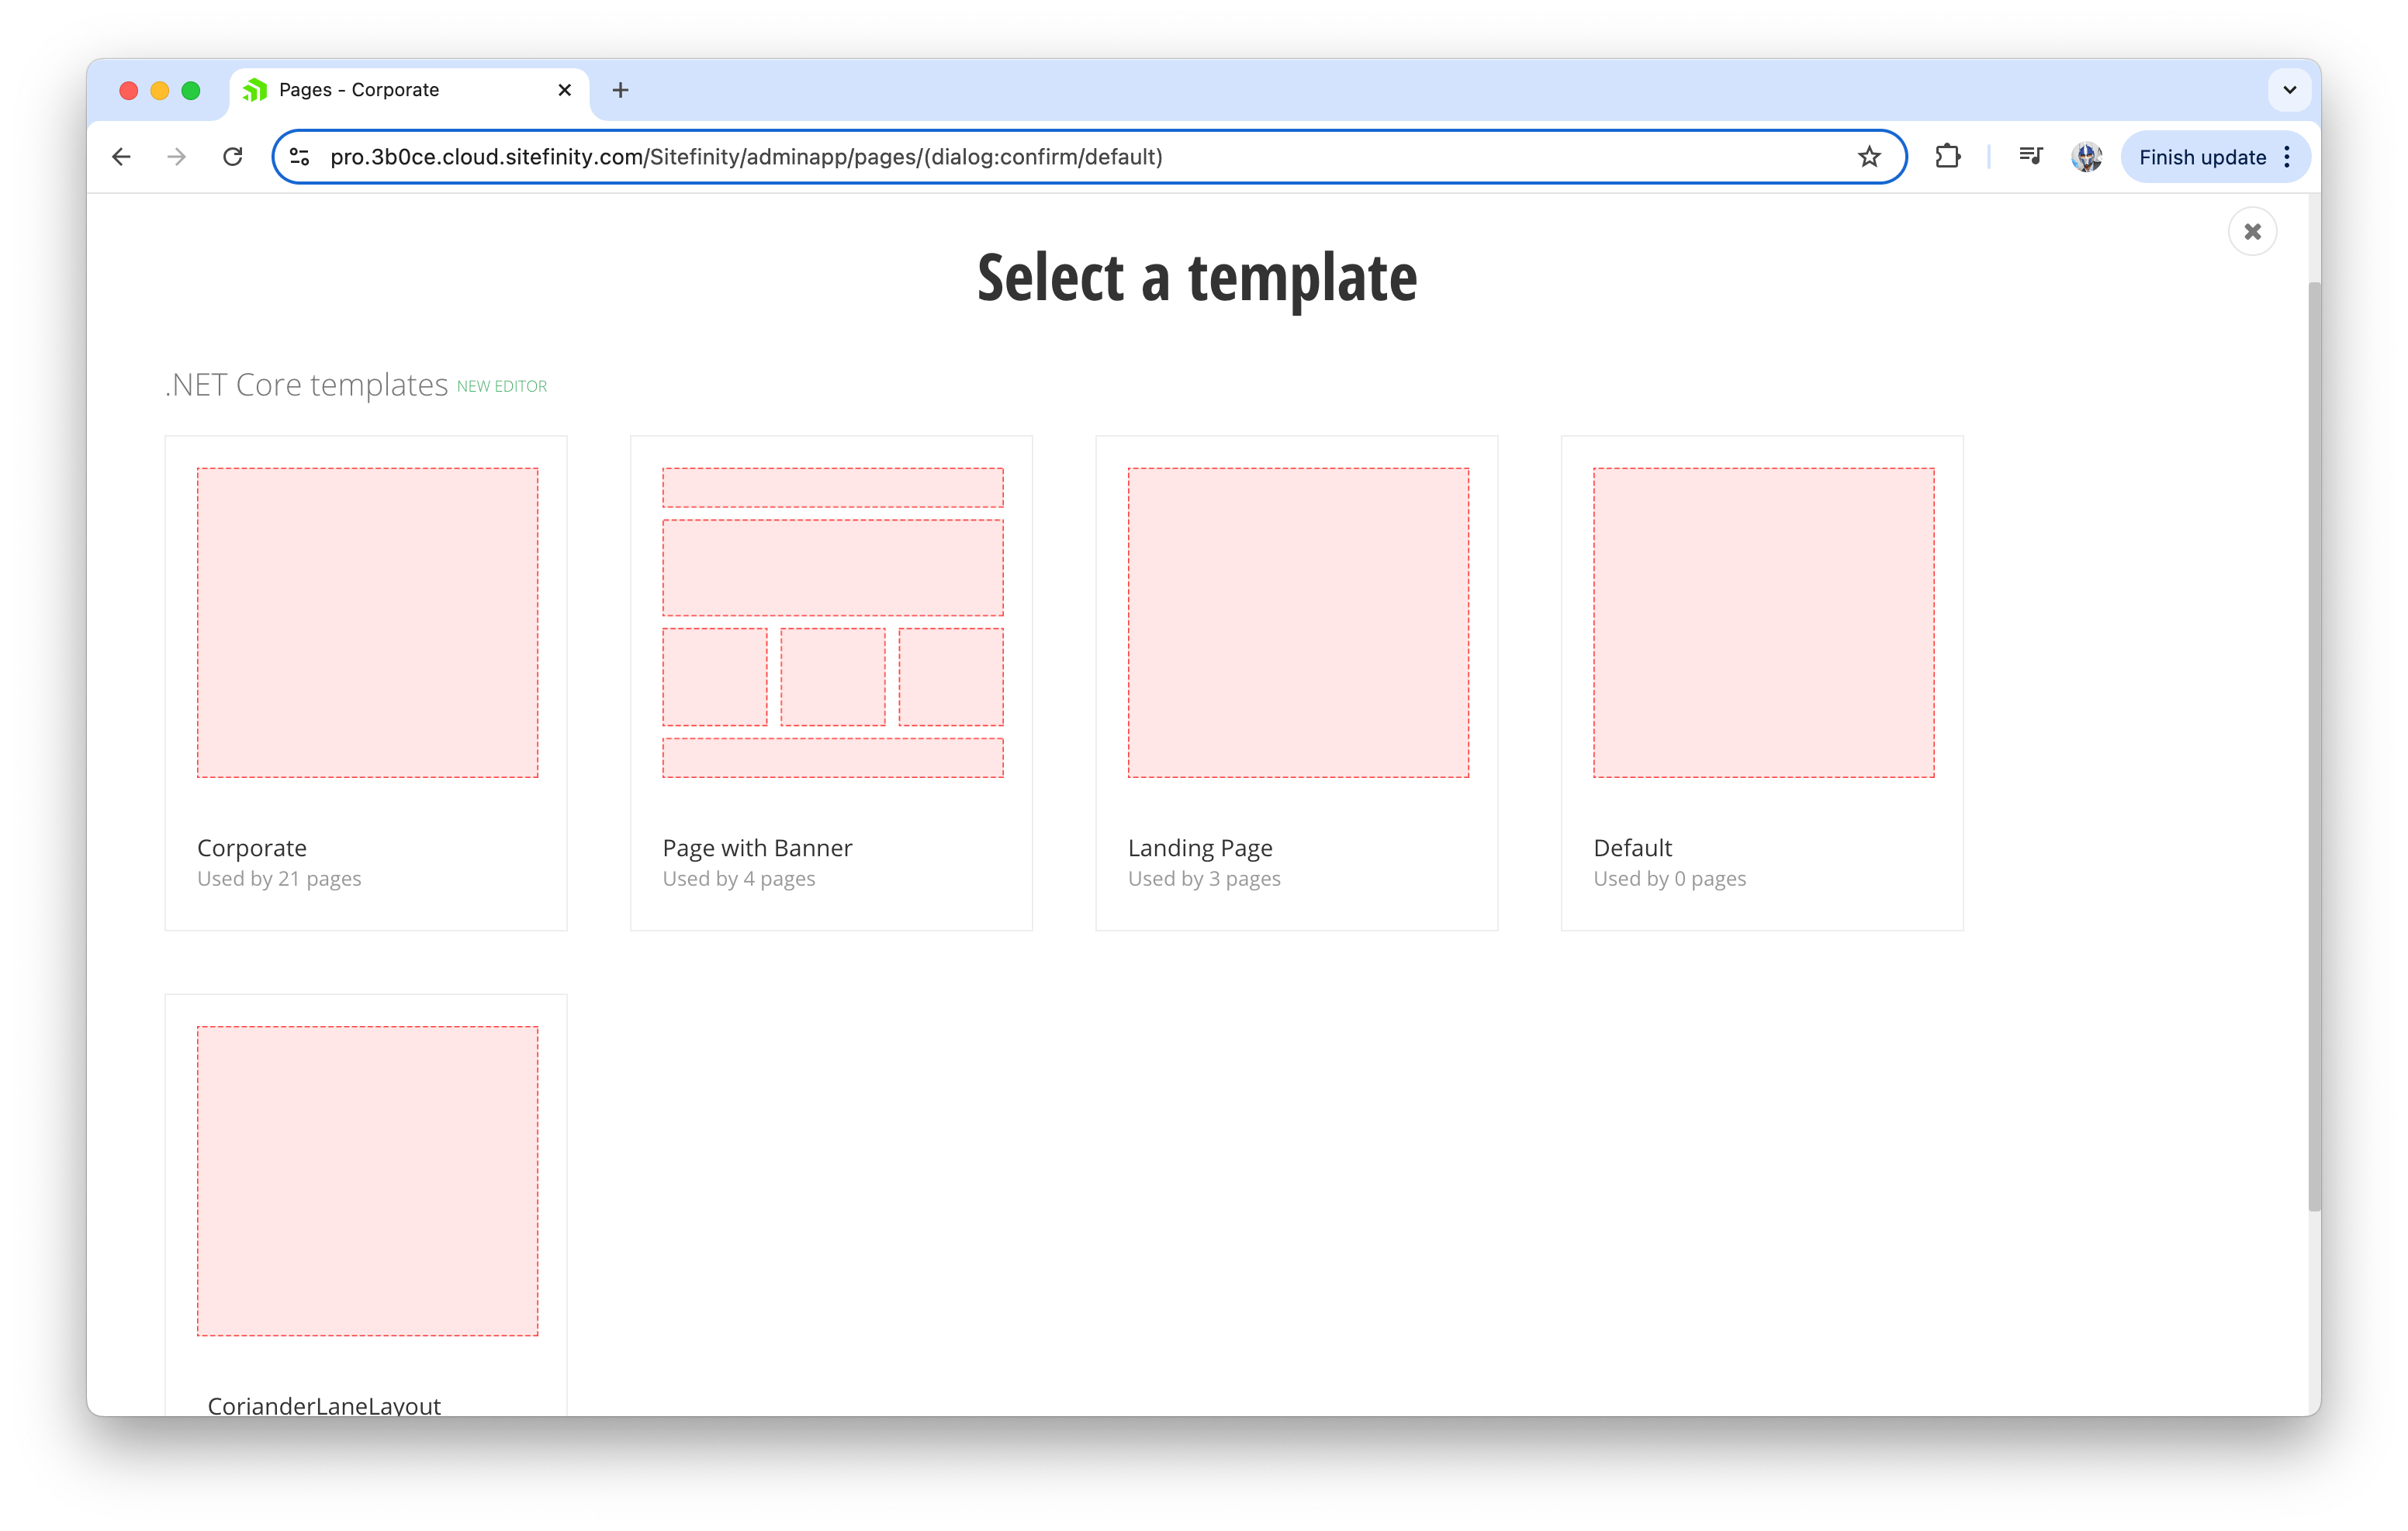
Once selected, the page appears showing the corporate header and footer as predefined by the template.
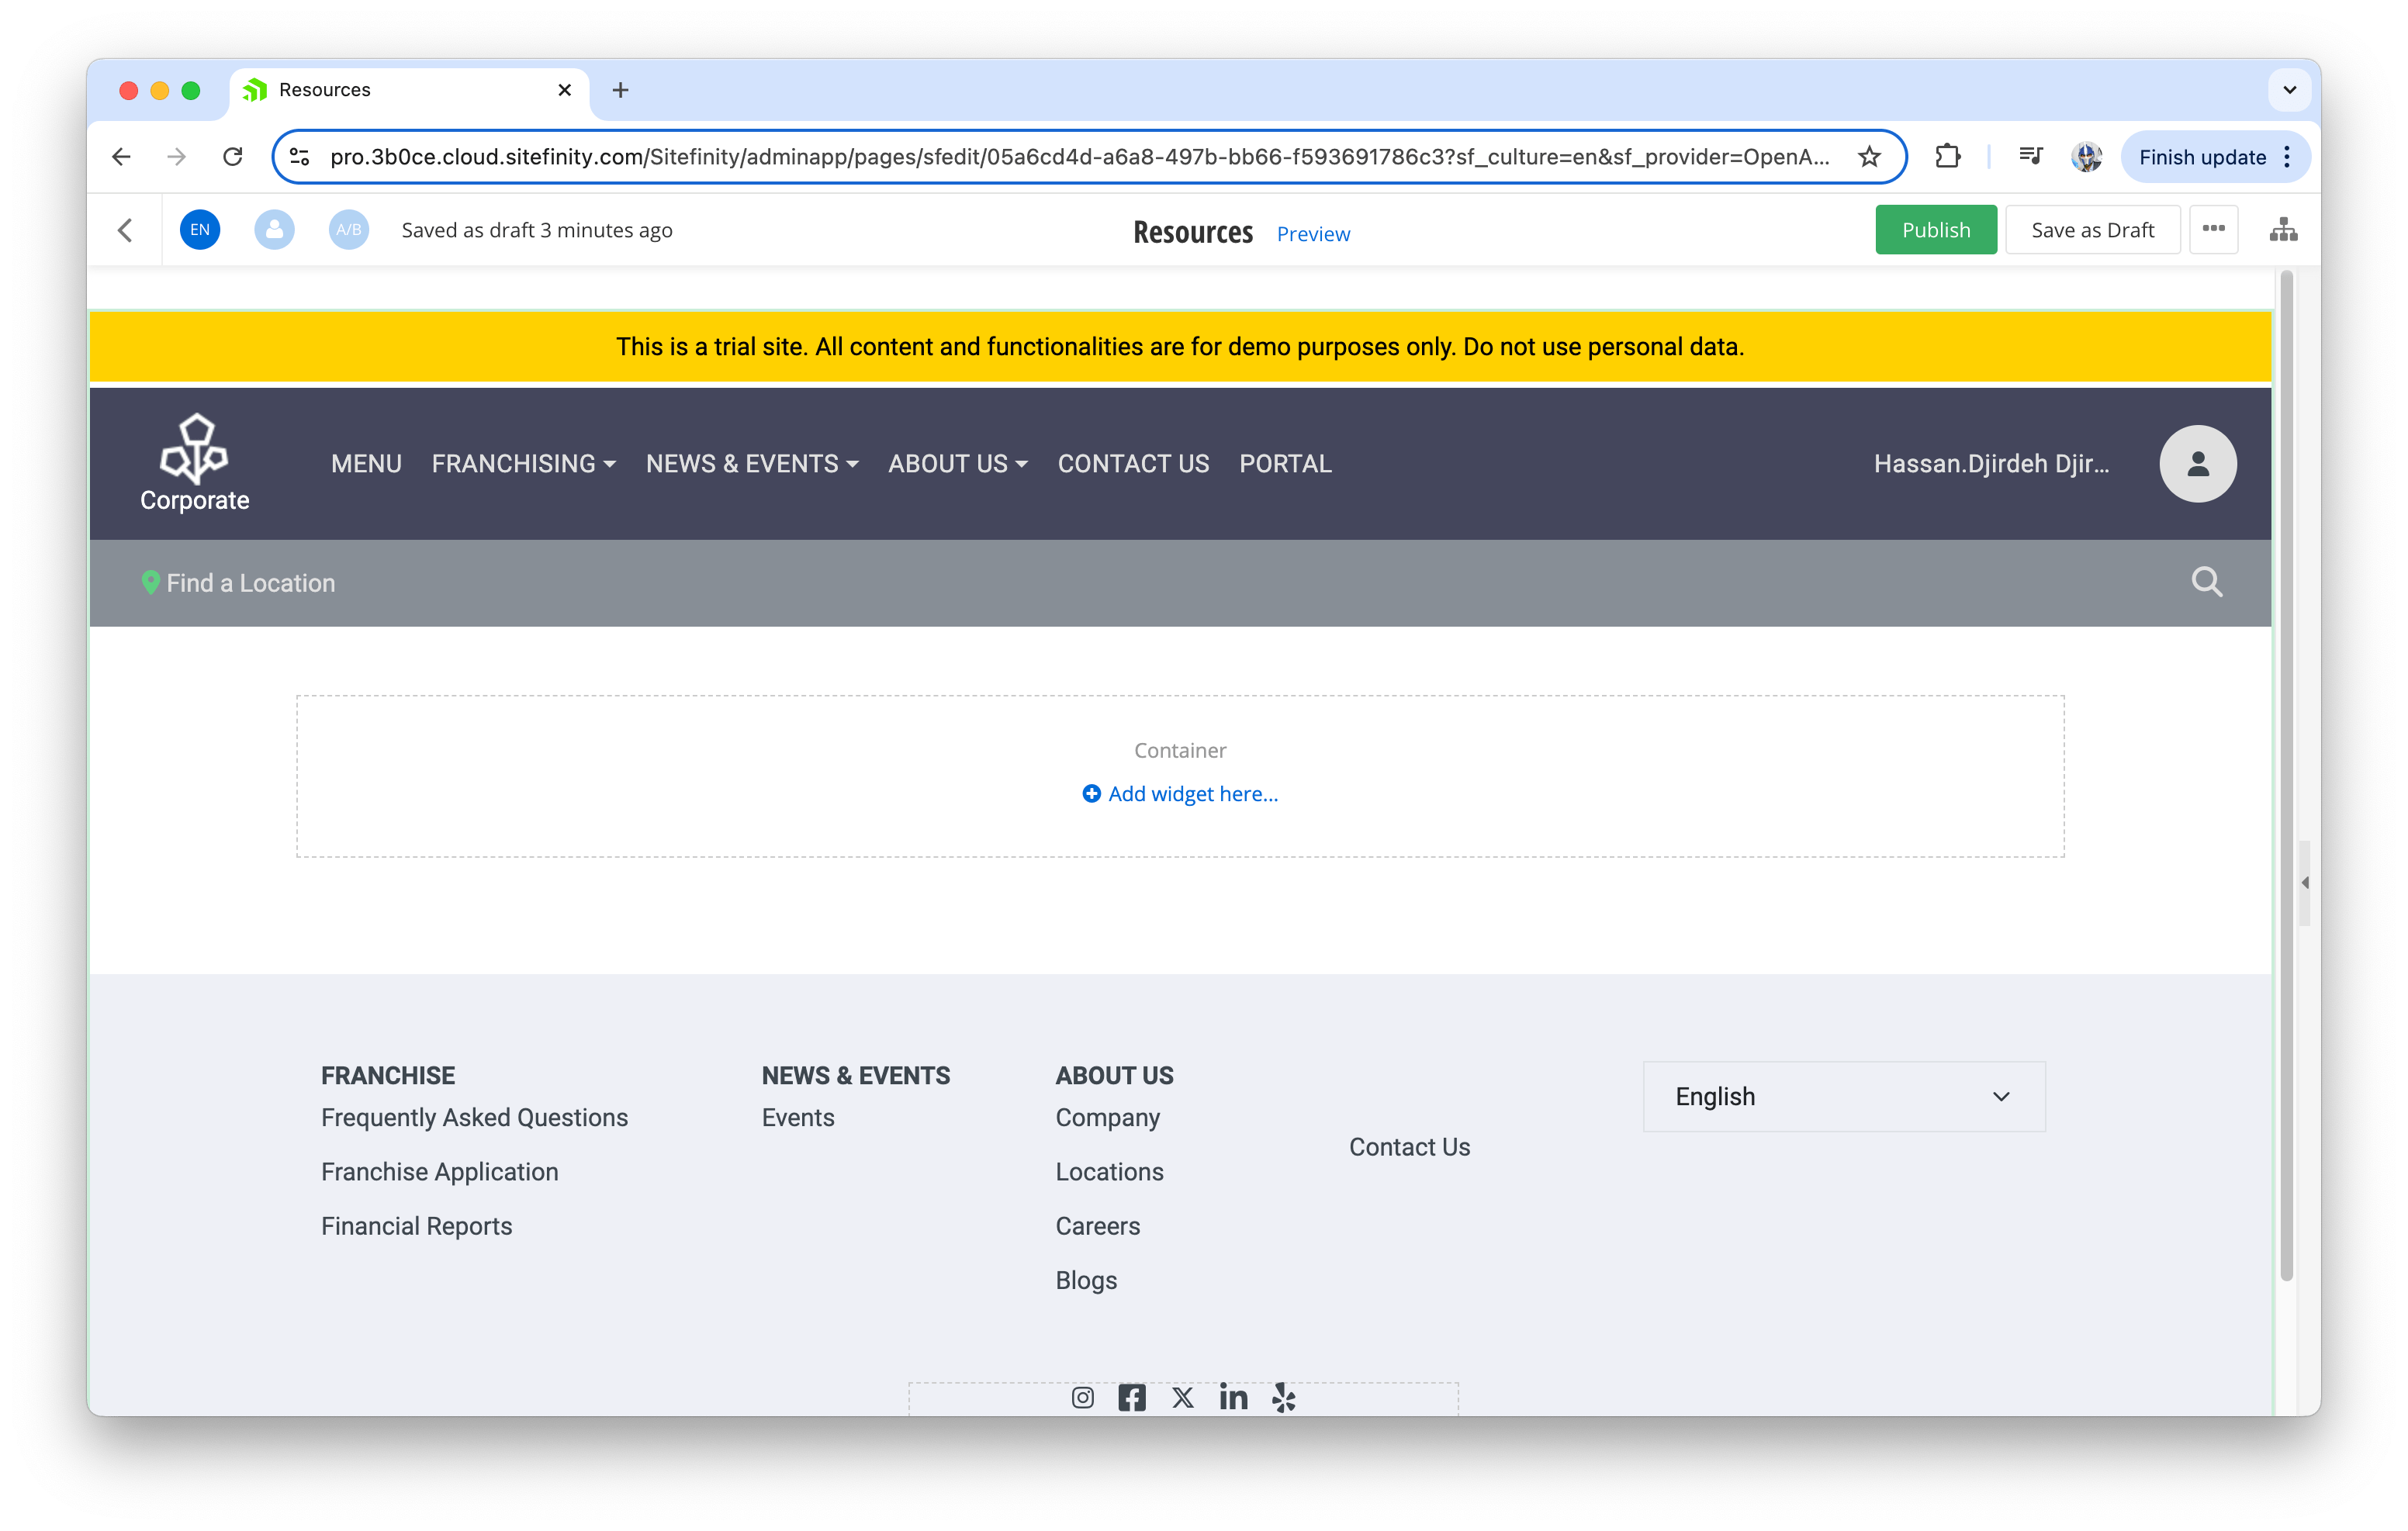
For our new “Resources” page, we’ll add a search widget that allows users to search for specific documents and a search results widget to display the matching results. These widgets can be easily dragged and dropped onto the page, configured and customized to fit the needed functionality.
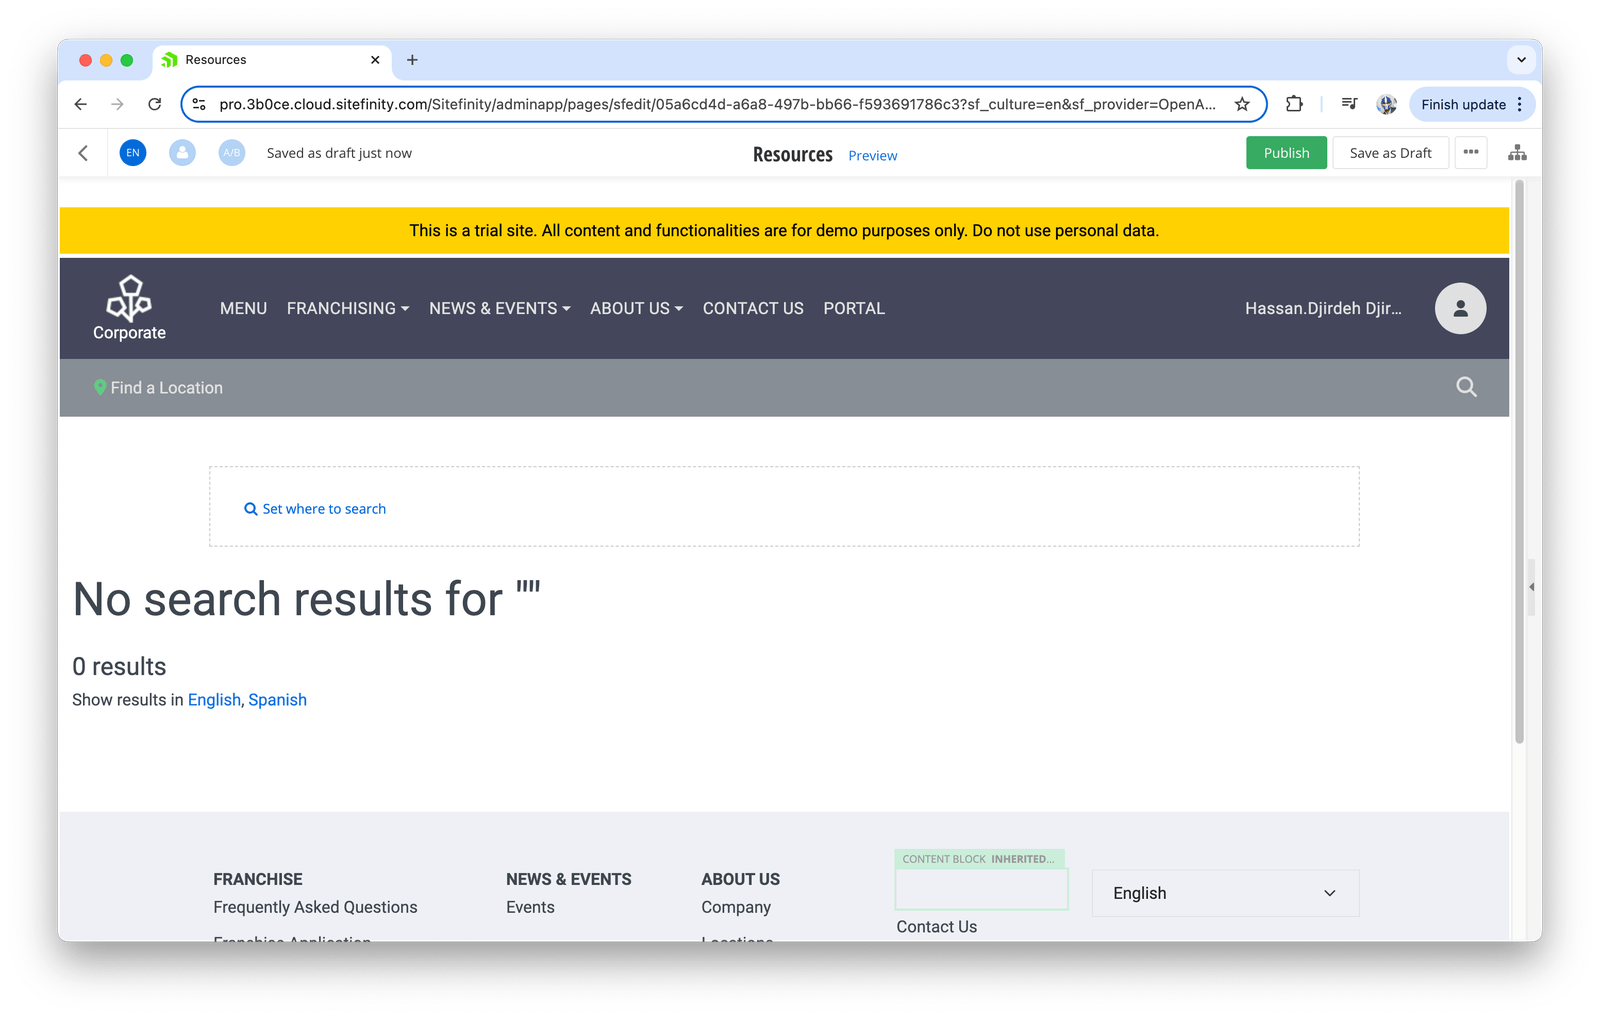
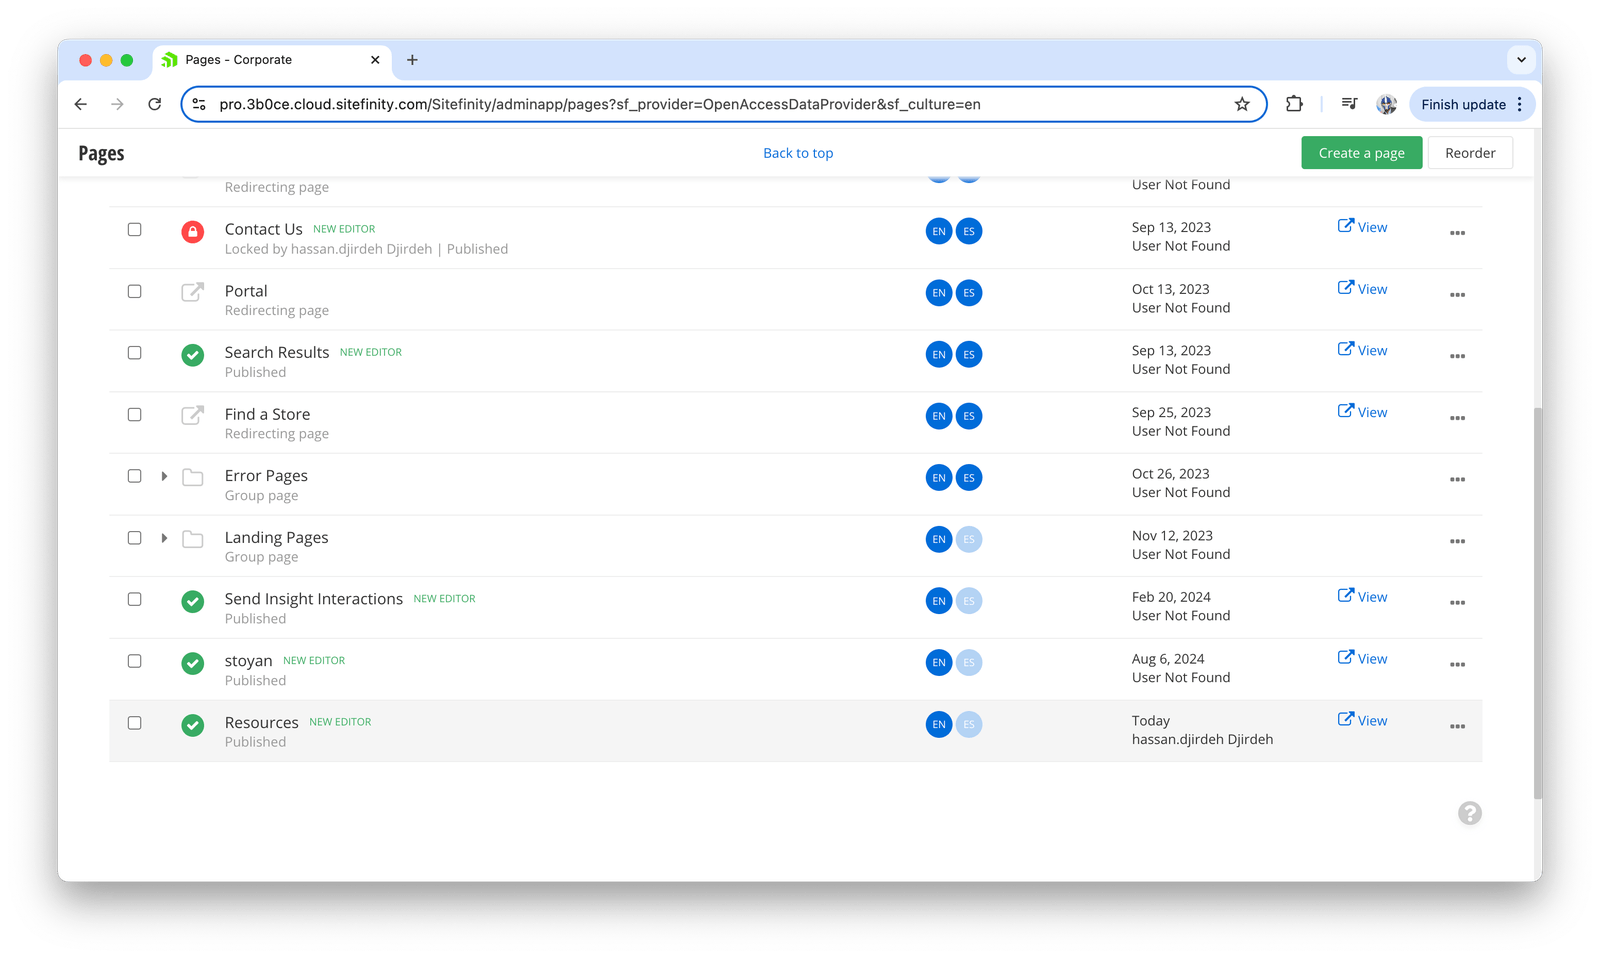
When the page setup is complete, we’ll click “Publish.” The page is now live and can be accessed from the website. In the “Pages” section of the admin, our newly created “Resources” page will now appear in the list of available pages.
Visiting the /resources URL now shows the newly created page, complete with a functional search input where users can quickly find the resources they’re looking for.
Wrap-up
Progress Sitefinity empowers users with the tools to create dynamic and scalable webpages without needing extensive technical knowledge. From its no-code page creation to its robust backend management capabilities, Sitefinity offers an intuitive yet powerful experience for content authors and developers. With drag-and-drop functionality, templating systems and a streamlined workflow, users can quickly create and manage consistent, responsive and engaging pages.
Whether you’re looking to launch a simple website or a sophisticated digital experience platform, Sitefinity delivers the flexibility, performance and user-friendly interface needed to bring your vision to life. By combining ease of use with the potential for deep customization, Sitefinity stands out as a versatile CMS that supports the evolving needs of modern web development. This article only touches the surface of what Sitefinity can do, and there is much more we’ll cover in follow-up articles! Stay tuned!
For more details on creating and managing pages, refer to the following official documentation: Progress Sitefinity Documentation—Create and Manage Pages.
Ready to see more? Request a demo from the Progress Sitefinity team.

