Part 3: How to edit auto-generated schema for REST endpoints
Editing the auto-generated schema
In Part 2: How to query data from multiple REST endpoints, we guided you through how to query data from multiple REST endpoints using SQL without writing a line of code. However, if you are new to this series, we recommend that you start with Part 1: How to query REST data with JDBC applications.
When sampling REST endpoints, the Autonomous REST Connector heuristically generates a relational schema, including column names and data types that are typically user friendly. However, there can be situations where you might want to rename a table or field name to avoid confusion, change the data type to one that is more appropriate, or change the primary key to a different field. In this tutorial, we will guide you through the process of editing your schema to make these changes.
Import your REST Model file
Before you begin editing your schema, you need to open your REST Model file in the Autonomous REST Composer:
- Open the Autonomous REST Composer by using one of the following methods:
- Select the Autonomous REST Composer (JDBC) icon from your desktop or the Windows Start menu.
- From a command line, navigate to the directory containing the autorest.jar file and execute the following command:
java -jar autorest.jar --designBy default, the autorest.jar file is stored in the following directory:
C:\Program Files\Progress\DataDirect\JDBC\lib\60.
Note: The Autonomous REST Composer is the Autonomous REST Connector's interface for selecting or building REST API models.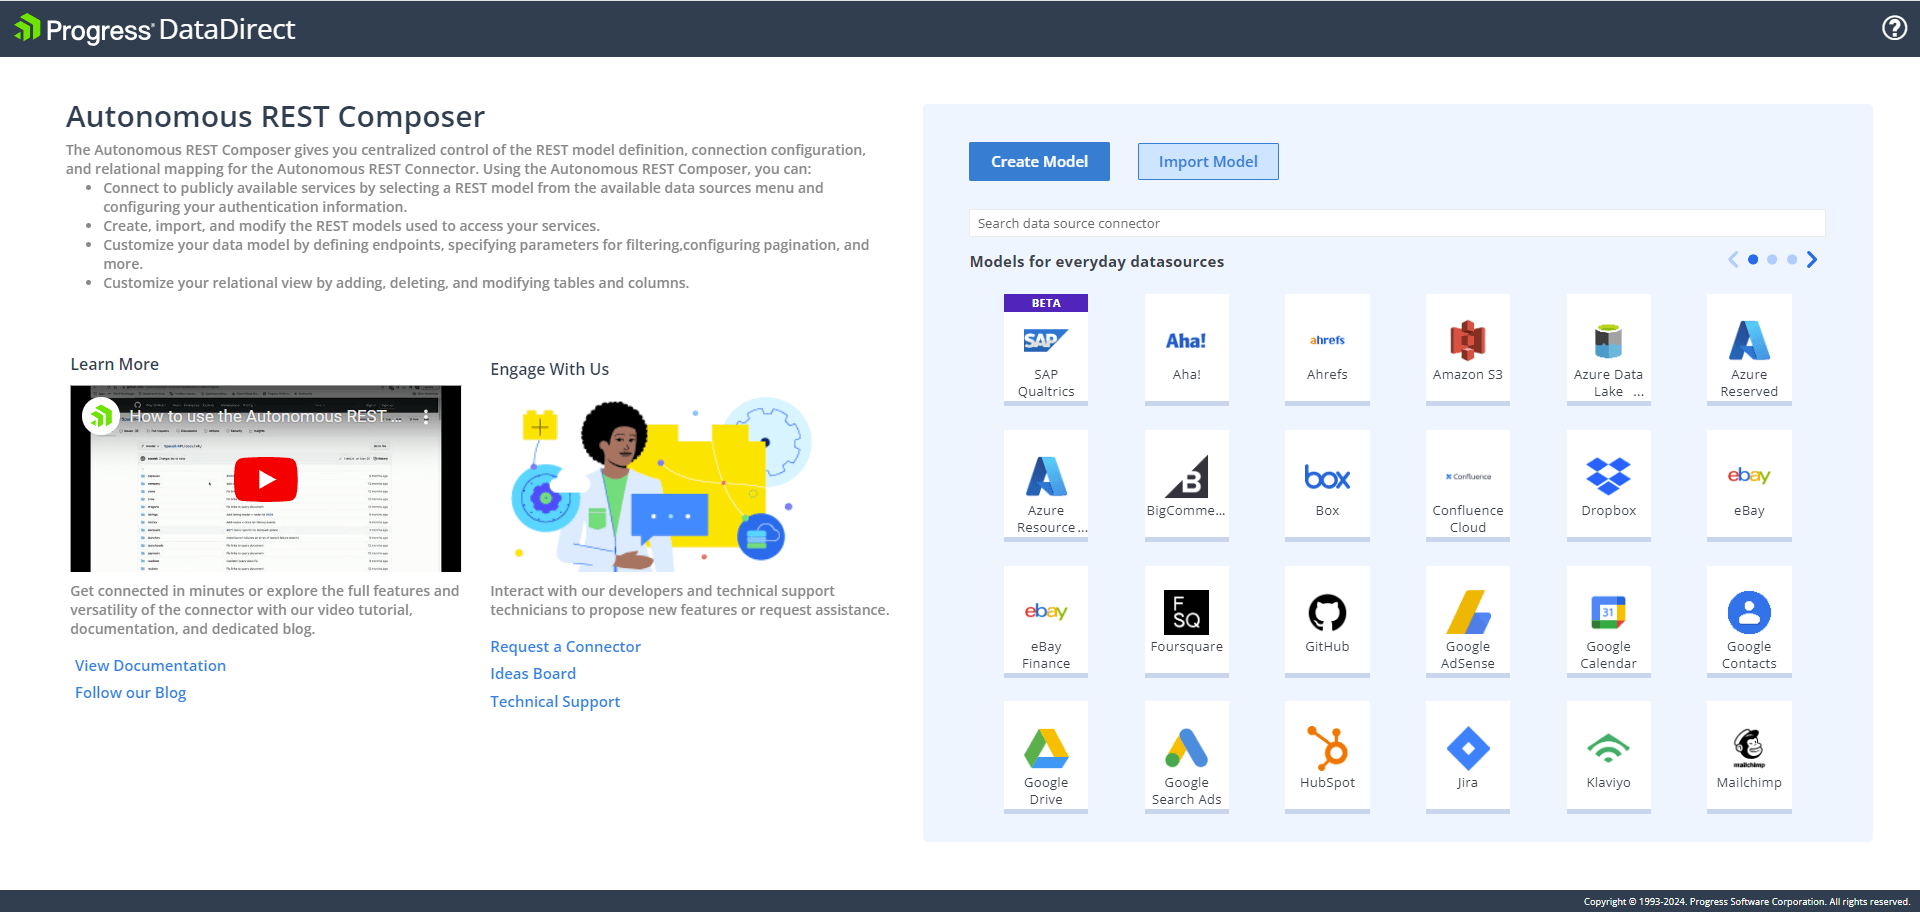
- Click Import Model.
- From the Import a Model window, click Choose your Model and open your REST Model file from the location you saved it. For example:
C:\path-to-file\yelp.rest - The Autonomous REST Composer opens to the Connection tab. Provide values for the following fields:
- Configure Authentication Method(s): Select Bearer Token.
- Authentication Method: Select Bearer Token from the field.
- Security Token: Enter your API Key.
- Select the Configure Endpoints tab to begin editing your schema.
Change the primary key, column name, and column data type
After sampling your endpoints, you can customize your schema from the default mapping, including modifying the column names, data type mapping, and primary key designation. To demonstrate changing column attributes, we are going to update the ALIAS column in the CATEGORIES table with the following changes:
- Change the primary key from the
ALIAScolumn to theTITLEcolumn. - Rename the
ALIAScolumnCATEGORYCODE. - Change the
ALIAScolumn data type from VarChar to LongVarChar
- In the left pane, expand your sampled request to expose a list of your relational tables. For our example, we will expose the tables for the categories endpoint:
GET https://api.yelp.com/v3/categories/categories - Expose the columns under the CATEGORIES table container.
- Right-click on the ALIAS column; then, select Modify Column Attributes.
- In the Modify Column Attributes window:
- In the Column Name field, enter the new name of your column. For example,
CATEGORYCODE. - In the Data Type field, select LongVarChar.
- Deselect the Primary Key box.
- In the Column Name field, enter the new name of your column. For example,
- Click Save.
- Add the primary key designation to the
TITLEcolumn:- Right-click on the Title column; then, select Modify Column Attributes.
- In the Modify Column Attributes window, check the Primary Key box.
- Click Save.
You can see your changes in the list of endpoints in the left pane. In the CATEGORIES table, you can see that ALIAS has been renamed CATEGORYCODE and the TITLE column now has the primary key indicator next to the name. In addition, you can see the foreign key has been updated for the child tables for the categories endpoint. For example, in the COUNTRY_BLACKLIST table, the foreign key CATEGORIES_ALIAS has been replaced with CATEGORIES_TITLE.
Change your table name
As with column names, it may be useful to rename tables if the generated names are confusing or lack real-world context. For example, in the Model file used to sample Yelp endpoints in Part 2, two categories tables were created: CATEGORIES and CATEGORIES_1. The first came from the categories endpoint, while the second came from the businesses endpoint. To provide better context, we are going to change the name of the CATEGORIES_1 table to BUSINESS_CATEGORIES.
To change a table name:
- In the left pane, expand your sampled request to expose a list of your relational tables. For our example, we will expose the tables for the businesses endpoint:
GET https://api.yelp.com/v3/businesses/search - Right click on the CATEGORIES_1 table; then, select Edit Table Name. The Edit Table Name window opens.
- In the Table Name field, enter the new name of your table. For example,
BUSINESS_CATEGORIES. - Click Save.
You can observe that the table name has been updated to BUSINESS_CATEGORIES in table list in the left pane.
Download your updated Model
After updating your Model, click Download to generate a Model file that reflects your changes. Then move your file to a directory that can be accessed by the driver. To use the updated Model file with your next connection, specify the fully qualified path to the updated file using the Config property.
What's next
In the next tutorial, we will show you how to configure paging using the Autonomous REST Connector.
The Autonomous REST Connector provides JDBC and ODBC connectivity to Jira, GitHub, Azure, and many other REST APIs.