ODBC TUTORIAL
MongoDB ODBC Driver for Integrating with TIBCO Spotfire
Updated: 19 Aug 2024
MongoDB and TIBCO Spotfire Integration using MongoDB ODBC Driver
Following our recent video tutorial series on getting started with MongoDB, I wanted to walk through taking the next step with your data—creating visualizations that will help you gain key insights. Here's how to get this done with TIBCO Spotfire!
Step-by-Step Walkthrough of Integrating Your Data with TIBCO Spotfire
- Create an ODBC Data Source using the DataDirect MongoDB driver. Note: The following steps also apply to any of our other ODBC drivers. Also, my TIBCO Spotfire is a 64bit application, so I downloaded the 64bit driver and created a 64bit data source. If your TIBCO Spotfire is a 32bit application, you will need to install the 32bit driver.
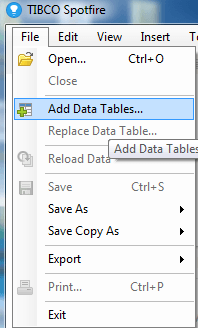
- Click on File>Add Data Tables
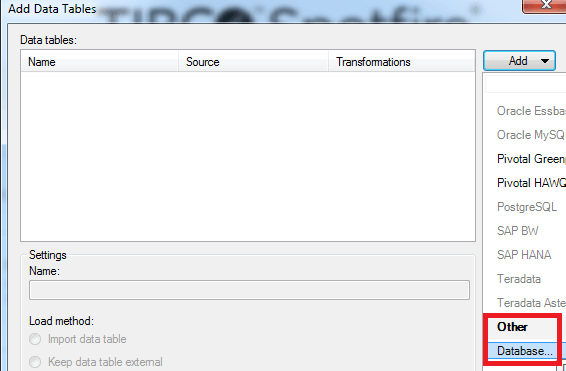
- Click Add>Other>Database
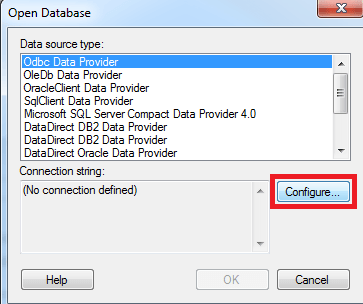
- Select ODBC Data Provider and click Configure
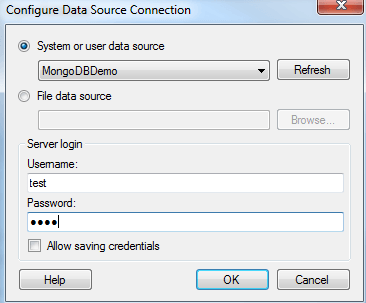
- Select the ODBC DSN Source that you want to connect to and enter your credentials
- Select the tables you want to import and create a TIBCO Data Source Name

- Click OK and let the tables import
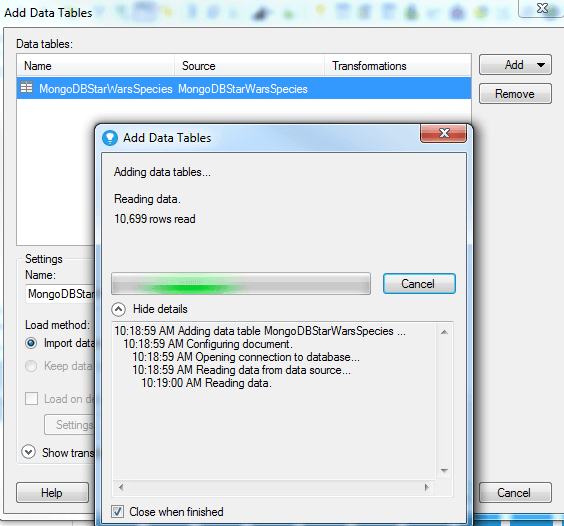
- You are now ready to create a visualization!

That's All!
Now that you've connected your MongoDB to TIBCO Spotfire via ODBC, you will be able to create visualizations and perform analytics with your data. If you are interested in more of our drivers you can pick up a free trial today and try them out for yourself.