Using the ASP.NET Sql Membership Provider in Sitefinity

The content you're reading is getting on in years.
This post is on the older side and its content may be out of date.
Be sure to visit our blogs homepage for our latest news, updates and information.
In the Sitefinity security space, all user and role management is handled through the ASP.NET Membership APIs. Sitefinity's backend uses its own custom membership and role providers, which utilize OpenAccess ORM to persist the users and roles into the Sitefinity database. Before the 4.1 release of Sitefinity, we didn't provide the option to substitute these providers with your own. Now doing this is a piece of cake.
We've seen a lot of requests asking how you can use the default ASP.NET Sql Membership Provider to log into the Sitefinity backend. This is a common need for users who are moving their existing applications to Sitefinity. Here is how you can do this:
Creating the Membership database needed by SqlMembershipProvider
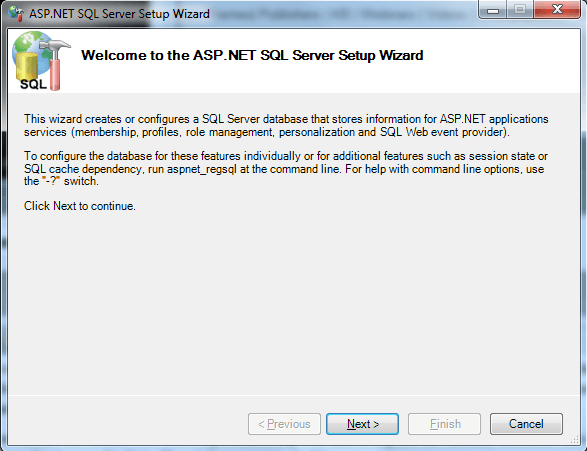
If you are moving an existing solution, you've probably already performed this step. For the purposes of this sample, we're going to use an empty database and create the tables needed by the SqlMembershipProvider to store data. The most convenient step to do this is to use the aspnet_regsql.exe tool that ASP.NET provides for us. If we run it without any command-line option, it opens a wizard that guides us through the process:
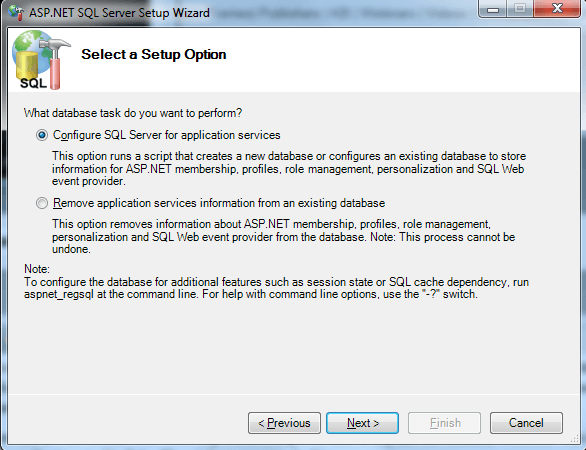
This wizard is used by ASP.NET to either create the needed tables needed by the provider, or remove them if they are no longer necessary. We need to select the former option in the second step.
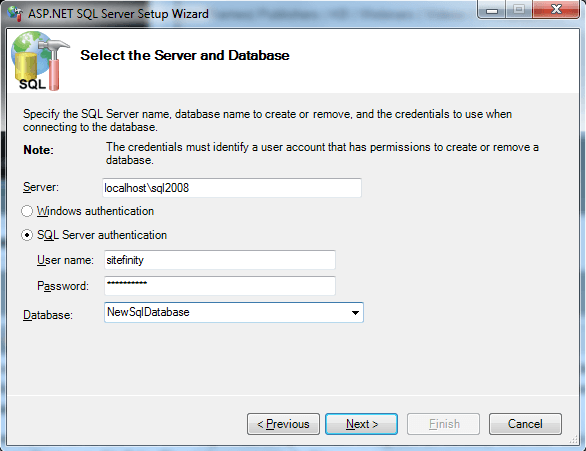
The only information that the wizard needs is a connection string to the database it is going to work with. If you provide a name of a non-existing database, the wizard will create it for you.
When we complete these steps, the database will be ready for use by the SqlMembershipProvider. Now we can proceed with registering the provider with Sitefinity.
Registering the Provider with Sitefinity
These steps are done exactly like you would do them in a regular ASP.NET application. We need to include elements in the web.config file indicating the role and membership providers we are going to use. Also, we need to provide the connection string to the database we created in the previous step. Here are the new sections we've added to the web.config file:
<connectionStrings> <add name="AspNetMembership" connectionString="Data Source=localhost\sql2008;UID=sitefinity;PWD=sitefinity;initial catalog=NewSqlDatabase"/></connectionStrings>...<roleManager enabled="true"> <providers> <clear/> <add name="AspNetSqlRoleProvider" connectionStringName="AspNetMembership" applicationName="/" type="System.Web.Security.SqlRoleProvider"/> </providers></roleManager>...<membership defaultProvider="AspNetSqlMembershipProvider"> <providers> <clear/> <add connectionStringName="AspNetMembership" enablePasswordRetrieval="false" enablePasswordReset="true" requiresQuestionAndAnswer="false" requiresUniqueEmail="false" maxInvalidPasswordAttempts="5" minRequiredPasswordLength="6" minRequiredNonalphanumericCharacters="0" passwordAttemptWindow="10" applicationName="/" name="AspNetSqlMembershipProvider" type="System.Web.Security.SqlMembershipProvider"/> </providers></membership>After this step your provider is fully functional, but has no data in it. If we want to login with a user from this provider, we have to first create a single user. Before we do this, though, you should remove the entry in web.config for the Sitefinity membership provider, if you have it. Sitefinity doesn't rely on the web.config to register its own providers, but the ASP.NET configuration tool might frown upon it.
Creating a User in the New Provider
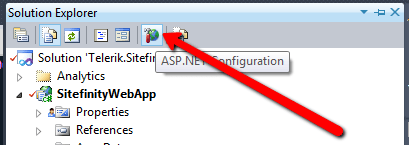
ASP.NET again provides a tool to do this, but in Visual Studio, rather than the command line. To access it, find the ASP.NET configuration button in the Solution Explorer, after you've opened your project in Visual Studio:
This will open a web administration tool with options to configure application settings.

We can manage users and roles by clicking on the Security tab. This tool uses the project's web config file to retrieve information about your providers, so if you encounter any error here, the most likely cause is something in your web.config.
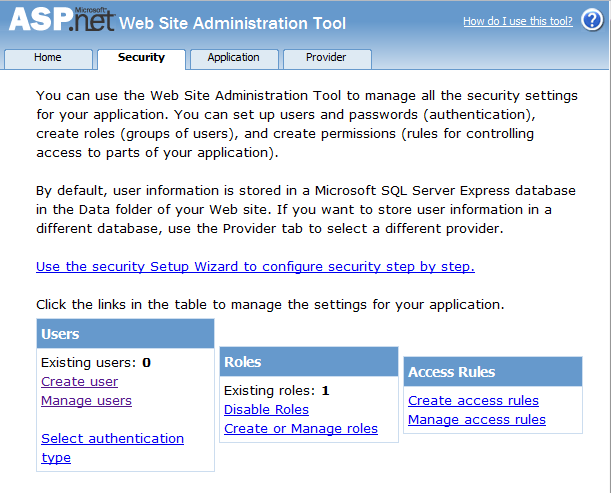
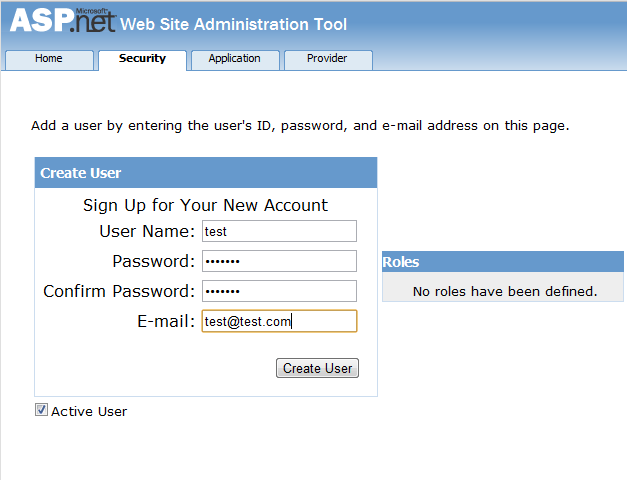
On this screen, we only need to click the "Create user" link, and then provide all the information needed for the new user. After we click "Save", our new user is ready and persisted in the database.
Log in With the Newly Created User in the Sitefinity Backend
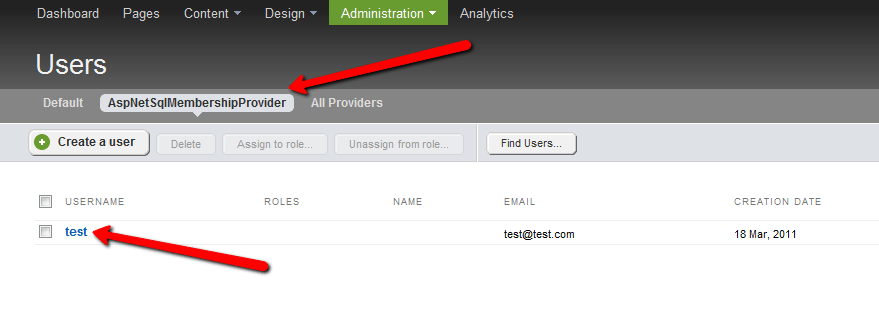
Up to now, we've created the membership database needed by SqlMembershipProvider, registered the provider with Sitefinity, and created a sample user in this provider. However, we still cannot log in with this user, because of missing rights to access the backend. To fix this, we need to assign the new user to a Sitefinity role able to access the backend. Logging in with an existing CMS user, we should be able to see the new provider and the newly created user.
The only thing left to do is go to the edit screen and assign the new user to the Administrators role.
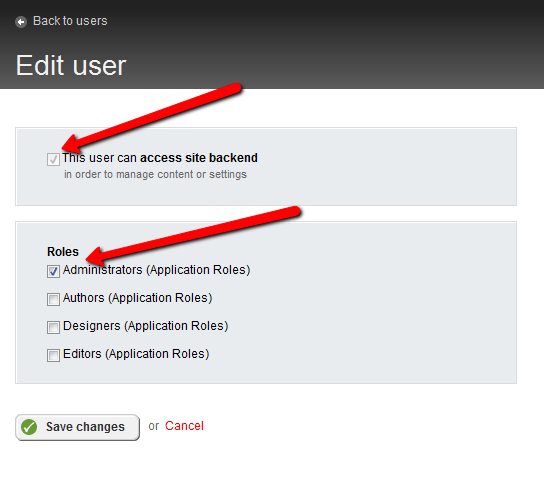
After this, we should be able to log out, and then log in with our new user.
NOTE:
In order for the Password Reset functionality to work with users from the custom providers inheriting from System.Web.Security.MembershipProvider class, recoveryMailAddress can be specified in appSettings node in web.config using the provider's Name and _RecoveryMailAddress as the key.
I believe it will help if we demonstrate how we're retrieving the property on our end, namely:
var recoveryMailAddress = manager.RecoveryMailAddress;if (String.IsNullOrEmpty(recoveryMailAddress)){recoveryMailAddress = ConfigurationManager.AppSettings[this.MembershipProvider + "_RecoveryMailAddress"];if (String.IsNullOrEmpty(recoveryMailAddress))recoveryMailAddress = string.Empty;}<appSettings> <add key="MyCustomProvider_RecoveryMailAddress" value="mypasswordrecovery@someserver.com" />
This sample demonstrates the scenario by using the ASP.NET SqlMembershipProvider. However, you can implement any membership provider and still use it with Sitefinity. For more information about implementing custom membership providers, you can visit MSDN. Let us know in the forums or support system about issues you encounter.
