Part 4 - Getting Started with Azure Automation: Testing Draft Runbooks

In this article, we’ll prepare the test automation project and I’ll show you how to use these assets to test our draft runbook.
In the previous article, you’ve learned how to create assets using the Portal and PowerShell. We’ve also created three assets:
- A Variable asset named ReportRecipients
- A Credential asset named ServiceAccount
- A Schedule asset named EveryMondayAtSix
Make sure to check out the first 3 articles in this series:
Part 1: Getting Started with Azure Automation: Introduction
Part 2: Getting Started with Azure Automation: Creating your first Azure Automation RunBook
Part 3: Getting Started with Azure Automation: Managing Assets
A runbook is considered as a draft when it is not yet published. But before publishing a runbook, it is imperative to test it first to ensure that it works properly and as intended.
Preparing the Draft Runbook
Let us prepare a draft runbook to test. As mentioned in the previous article, we’ll create a test automation project that will perform these actions:
- Run every Monday at 6:00 AM.
- Login to Azure.
- Get the list of Virtual Machines and their Power State.
- Send the report as an email to a nominated recipient address.
Since the runbook will contain code to connect and query information from Azure, the Az.Accounts and Az.Compute modules must be installed in the Automation Account first.
When installing modules in your local machine, you would normally use the Install-Module cmdlet to get the module from the PSGallery and into your computer. Installing modules in Azure Automation is quite different. While the installation can also be done using PowerShell, it is far simpler to do so using the Modules gallery in the Azure Portal especially if the module to install is in PSGallery.
Installing the Required Modules in the Azure Automation Account
Follow these steps to install the required Az Module in the automation account Azure-AA
- Navigate to the Azure Automation Account. In my environment, the automation account name is Azure-AA.
- On the left pane, under the Shared Resources section, click on Modules gallery.
- Then in the Search box, type in Accounts then press enter. A list of results will be shown.
- Look for the Accounts module and click it.
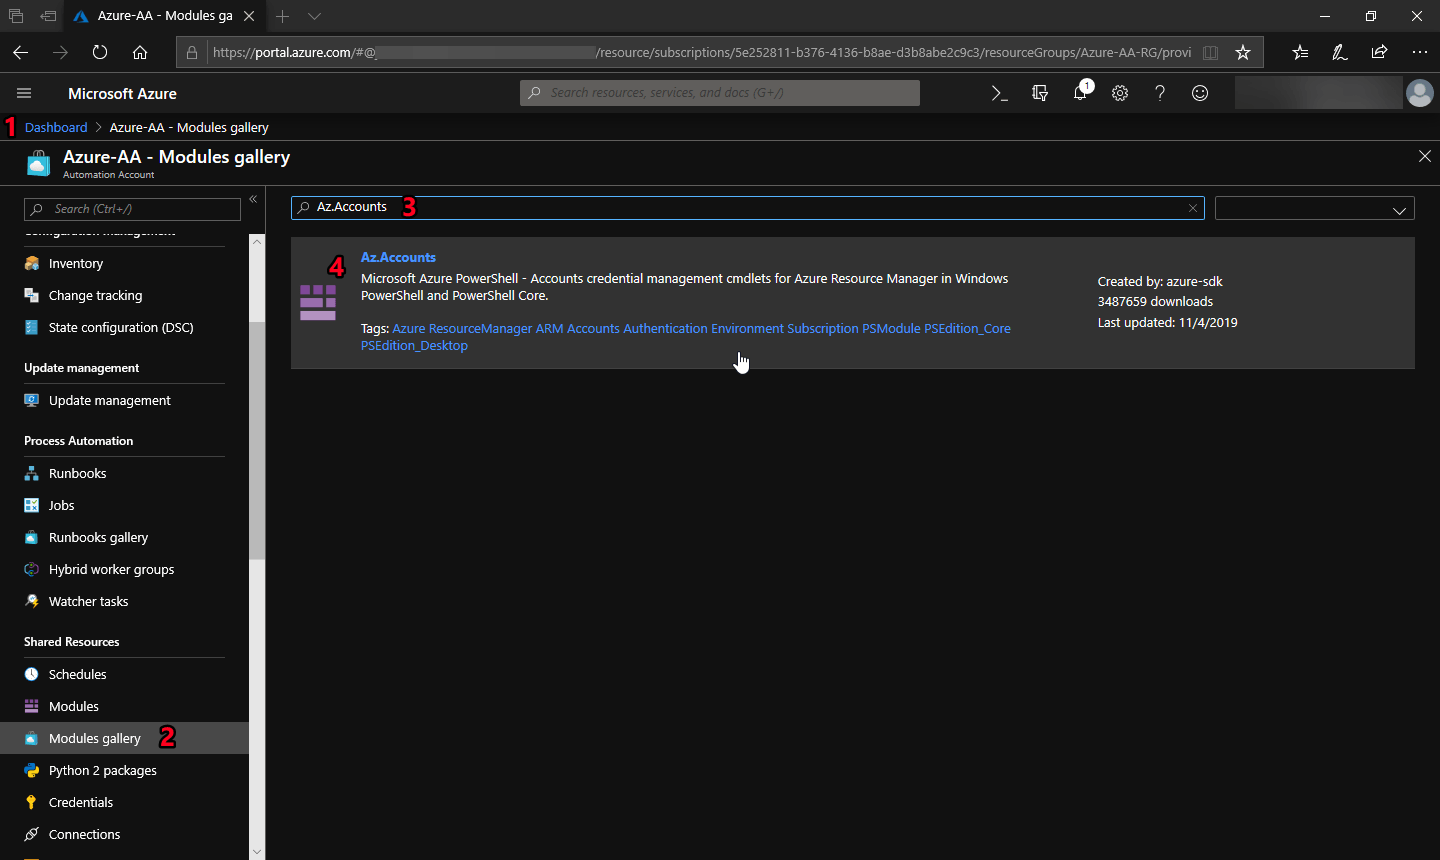
Search Az.Accounts Module in Modules Gallery
- Next, it will take you to the module import page. Click on Import
- Once the import is done, click OK
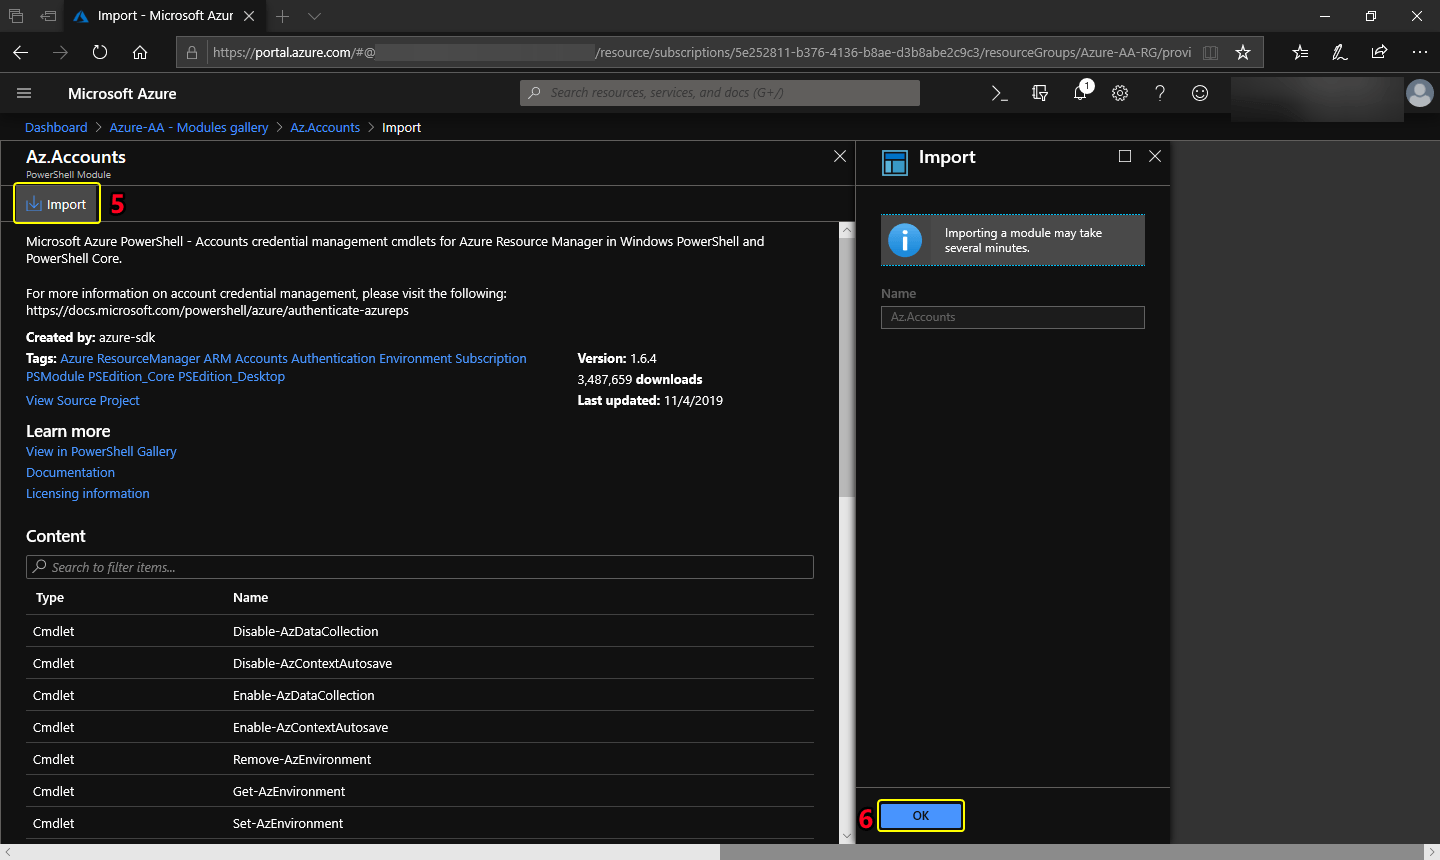 Import the Az.Accounts Module
Perform the same steps above to import the Az.Compute module.
When done importing the required modules, go back to the Azure Automation account and under the Shared Resources section, click Modules. You should see the modules listed and the status is available.
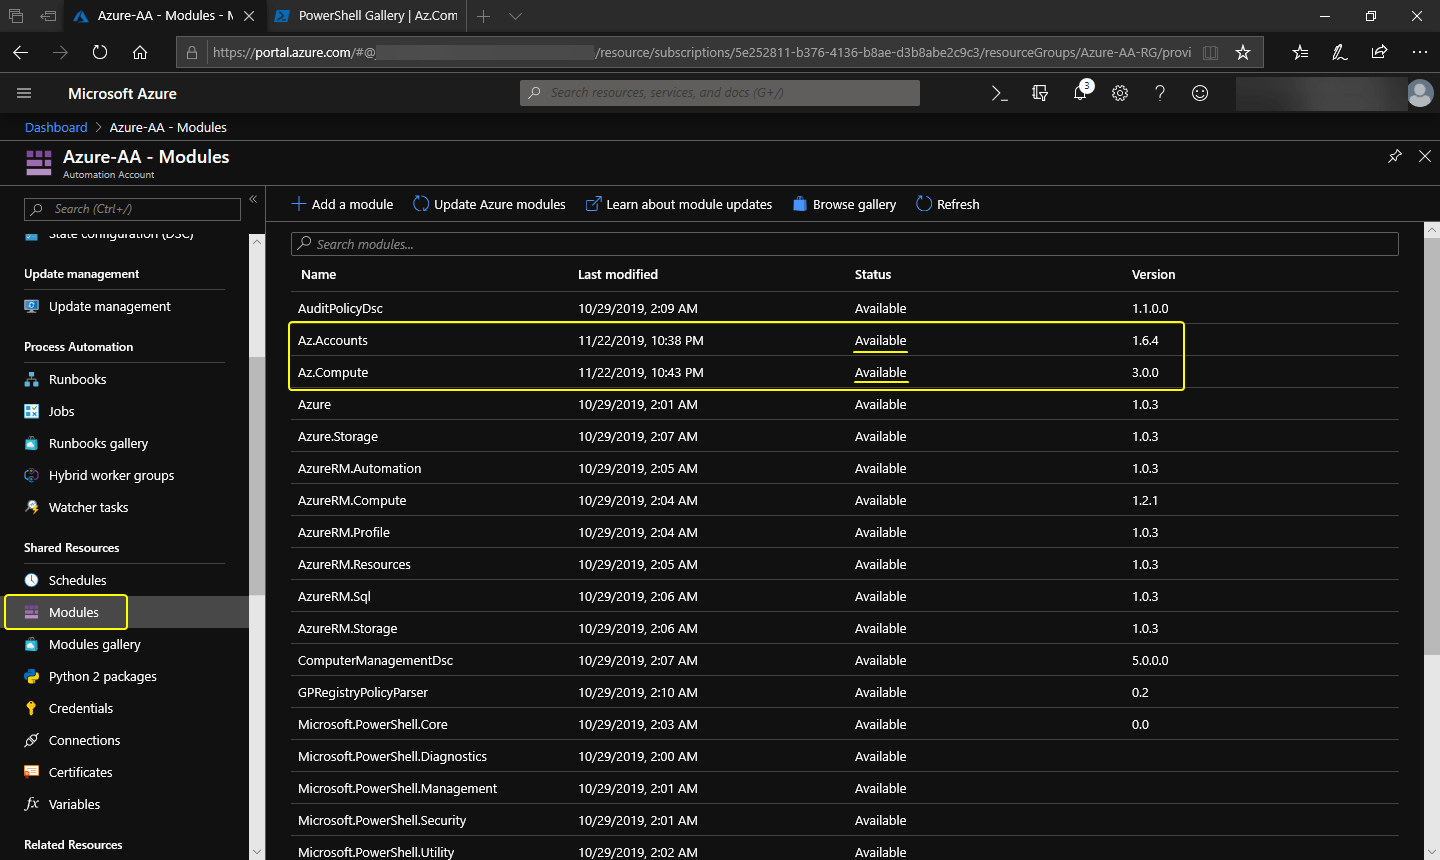
Az.Accounts and Az.Compute modules are installed
Creating the Runbook Code
Now that the required modules are installed, we can start to create the runbook with code. In this example, I will create the code using PowerShell ISE and then import it to Azure.
Open PowerShell ISE, copy the code below and save it as C:.ps1
# Import the modules
Write-Verbose "Import required modules"
Import-Module Az.Accounts
Import-Module Az.Compute

# Store the ServiceAccount asset value to a variable
Write-Verbose "Retrieving the ServiceAccount credential"
$ServiceAccount = Get-AutomationPSCredential -Name 'ServiceAccount'

# Store the ReportRecipients asset value to a variable
Write-Verbose "Retrieving the ReportRecipients variable"
$ReportRecipients = Get-AutomationVariable -Name 'ReportRecipients'

# Connect to Azure
Write-Verbose "Connecting to Azure"
Connect-AzAccount -Credential $ServiceAccount

# Get the status of all Virtual Machines present in Azure and store in a variable.
Write-Verbose "Getting All VM power status"
$VMStatus = Get-AzVM -Status | Select-Object ResourceGroupName, Name, PowerState

# Build the email parameters
$mailProperties = @{
    #Assuming that the email address is same as the UPN.
    #Otherwise, change this value to the correct address.
    From = ($ServiceAccount.UserName)

    # Use the ReportRecipients value
    To = $ReportRecipients

    Subject = 'Azure VM Powered State Report'

    # Convert the $VMStatus values to HTML and use it as the body of the email.
    Body = (($VMStatus | ConvertTo-HTML) -join "`n")

    # Set format as HTML
    BodyAsHTML = $true

    # Using the Office 365 SMTP Relay
    SMTPServer = 'smtp.office365.com'

    # Office 365 SMTP listens to port 587
    Port = 587

    # Office 365 SMTP requires SSL
    UseSSL = $true

    # Use the ServiceAccount
    Credential = $ServiceAccount

}

# Send the report
Write-Verbose "Sending email report"
Send-MailMessage @mailProperties -Verbose
Once you’ve saved the code, it is ready to be imported. In the next section, I’ll show you how to import the code using the Portal and PowerShell.
Importing the Code using the Portal
Follow these steps to import the code into a new runbook.
- Navigate to the Automation Account.
- Under the Process Automation section, click Runbooks.
- Then click Import a runbook.
- In the Import a runbook form, select or specify the script you created in C:.ps1. The Name and Runbook type values will be automatically populated.
- Click Create
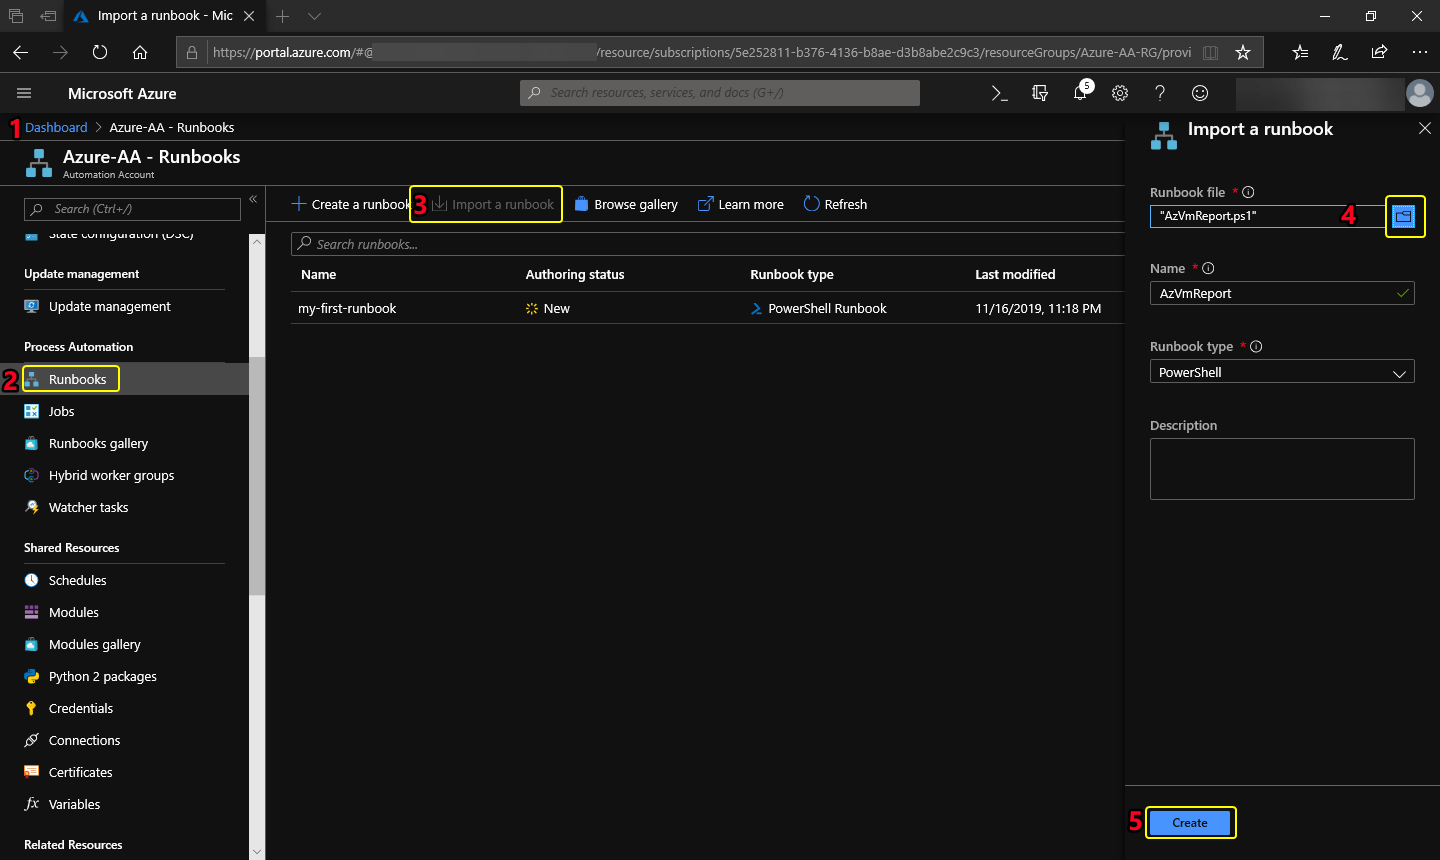 Import the runbook code using the portal
Once completed, the new runbook will appear on the runbooks list.
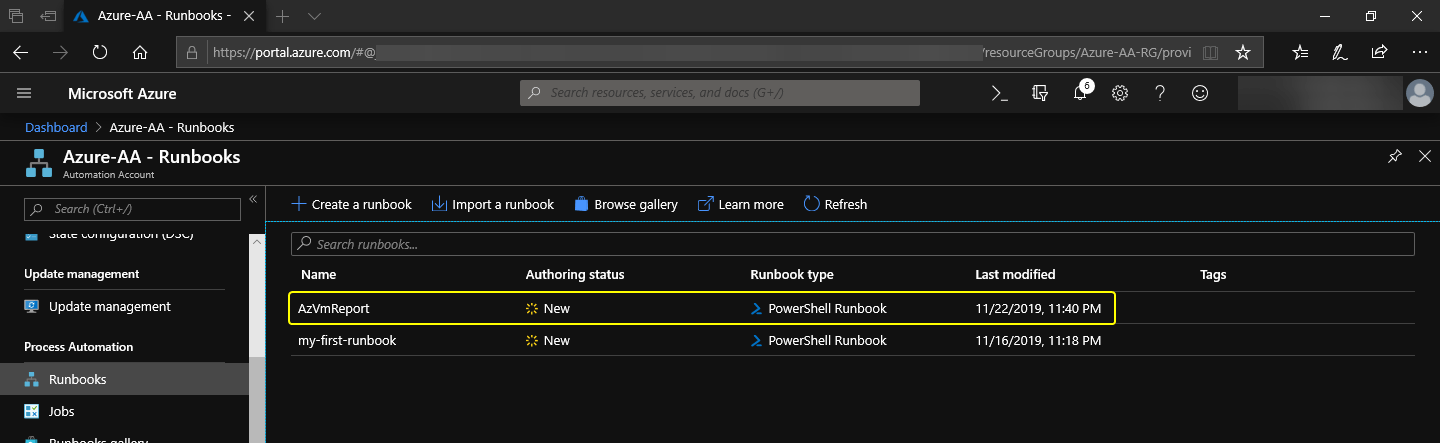 The runbook code is imported
Should you need to edit the code, you can click on the runbook name and click the Edit button. It should take you the runbook editor similar to what’s shown in the screenshot below.
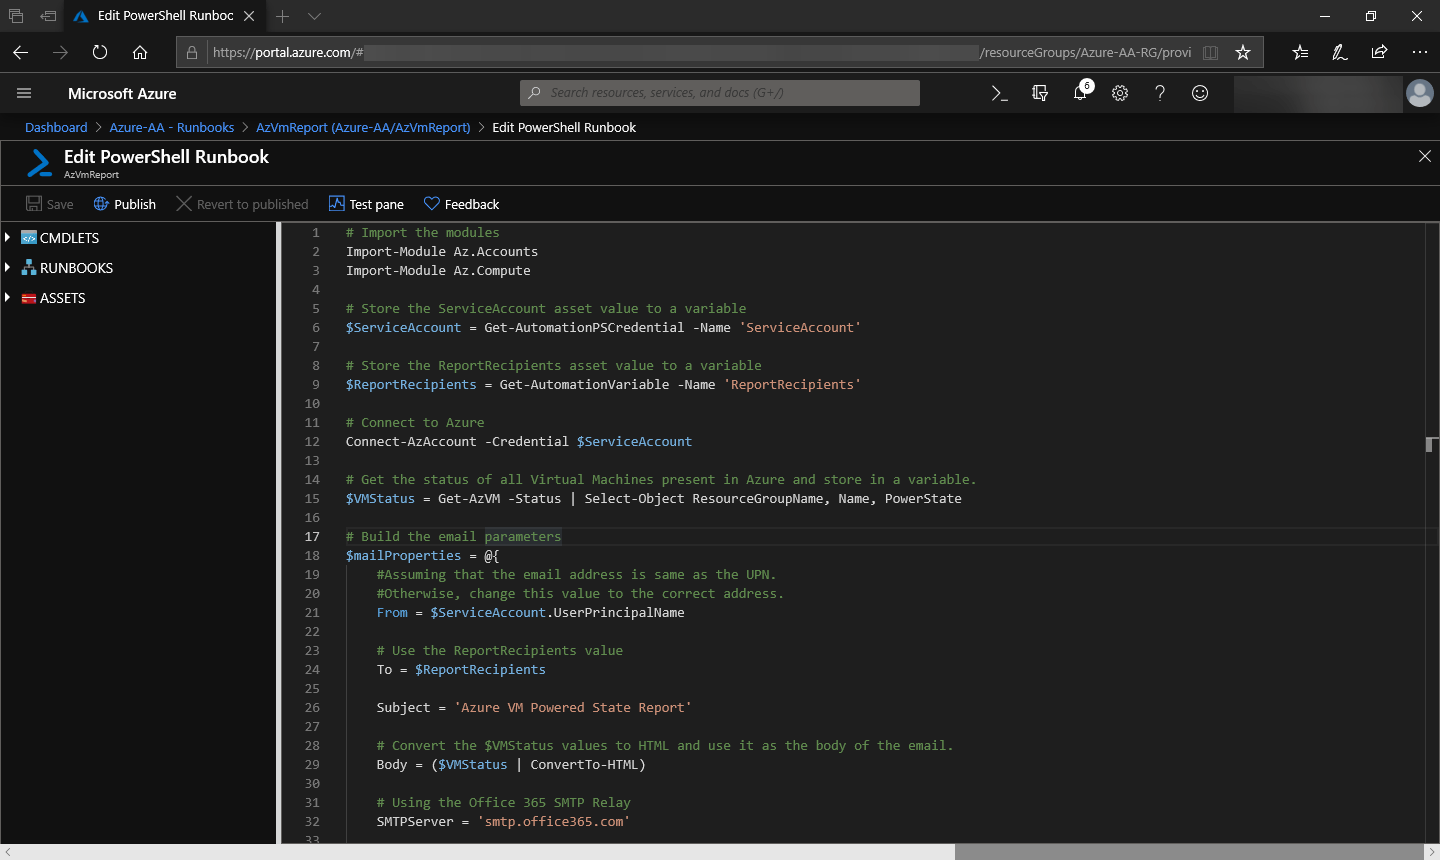 Runbook code editor
Importing the Code using PowerShell
Follow these steps to import the code into a new runbook using PowerShell
- Connect to Azure using PowerShell (if not yet connected)
- Copy the command below and paste it in your PowerShell console.
Import-AzAutomationRunbook `
    -Path C:\Scripts\AzVmReport.ps1 `
    -AutomationAccountName Azure-AA `
    -ResourceGroup Azure-AA-RG `
    -Type PowerShell
The code above imports the code in C:.ps1 into a new PowerShell type runbook inside the automation account Azure-AA that belongs to the resource group Azure-AA-RG.
Once the code import is complete, you should see an output similar to the screenshot below.
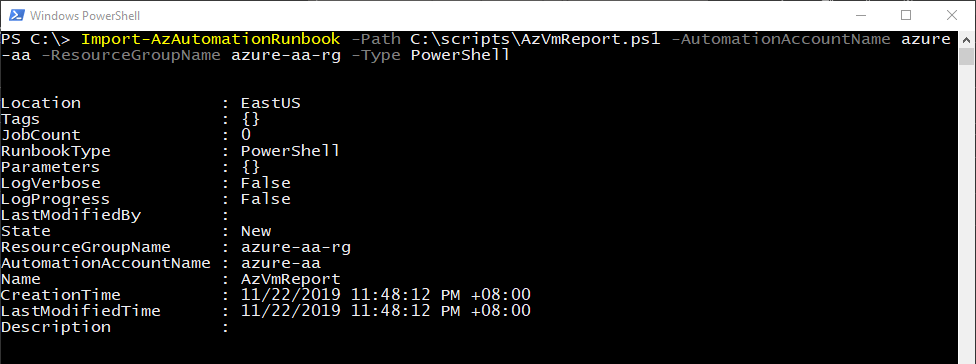 Import the runbook code using PowerShell
Should you need to update the code in the same runbook, you can edit the code and re-import it using the same command but with the -Force parameter added. See the example in the screenshot below.
 Update the runbook code using PowerShell
Testing the Draft Runbook
Now that the code is successfully imported, the draft runbook is ready to test. But before that, let’s discuss a little about the difference between testing codes in Azure Automation vs PowerShell.
In PowerShell, there are tools available for testing your scripts. These tools include Pester and PSScriptAnalyzer, and they can be run from PowerShell as you normally would run a cmdlet.
In Azure Automation, testing can only be done using the specialized Test Pane in the portal. Using external testing tools is not applicable and there’s not a lot of actions you can do but to run the code and see if the results are what you expected.
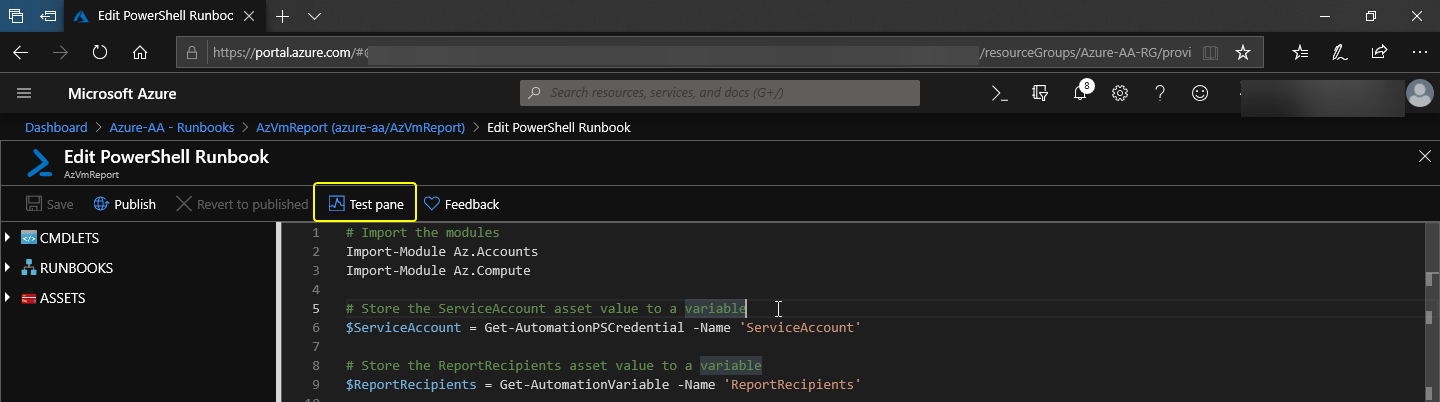
To test the runbook, navigate to the runbook, click Edit.
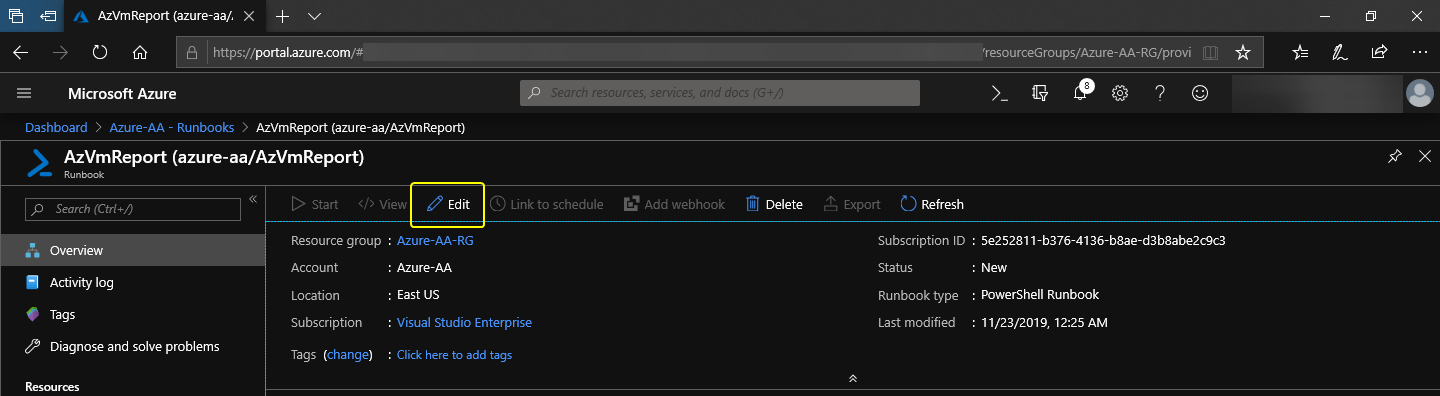 Click Edit to enter the editor
Then click the Test pane button.
 Click to enter the Test pane
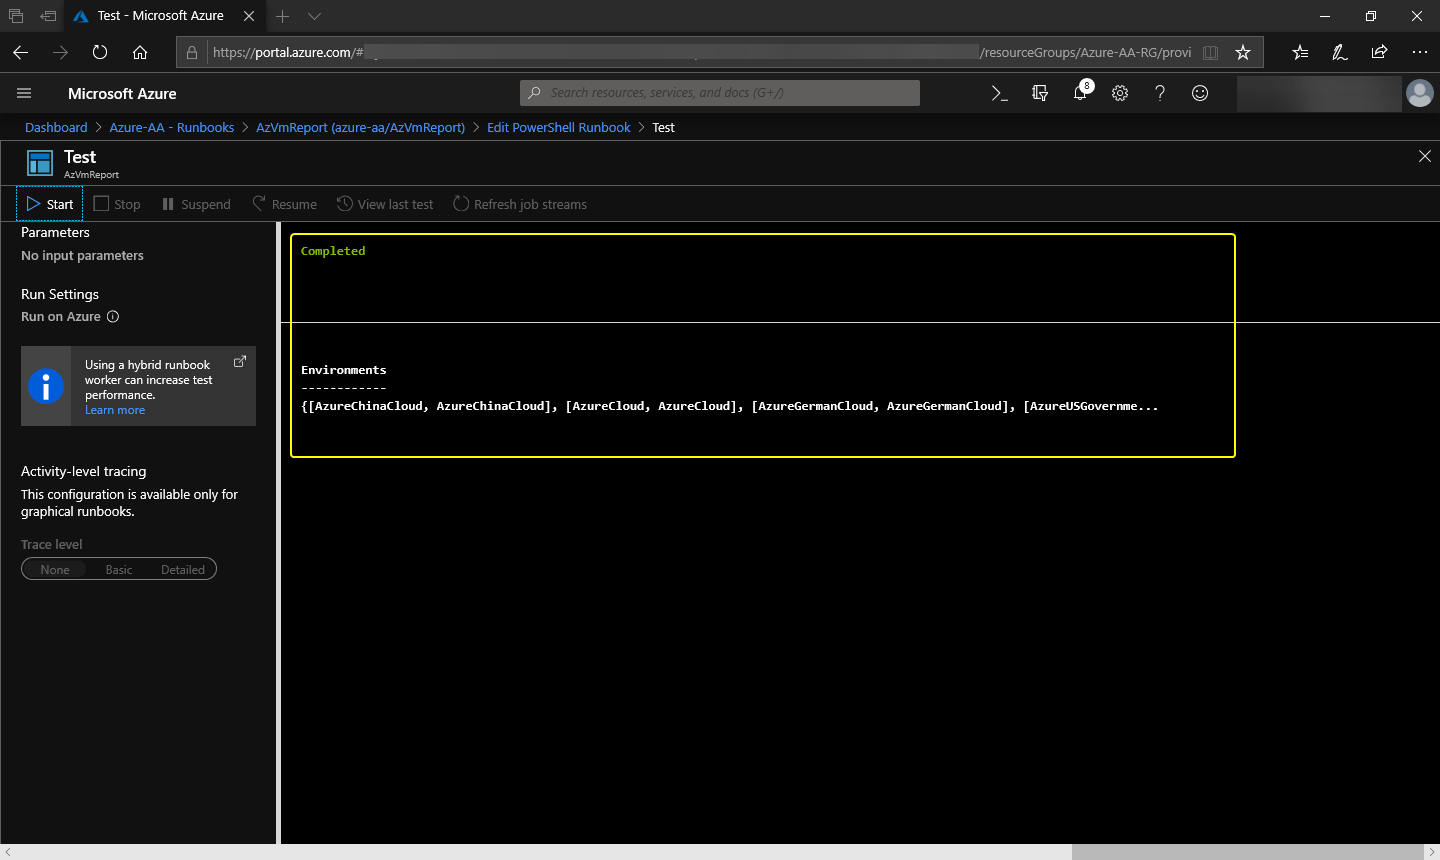
Once in the test pane, click the Start button to begin the testing of the runbook. After the test is complete, the status will be displayed.
 Runbook testing complete
As you can see in the screenshot above, there isn’t much information displayed. That is because the script in our runbook didn’t have any code to display anything in the console. It is something you may want to consider when you start creating your runbooks and add verbose logging in your code.
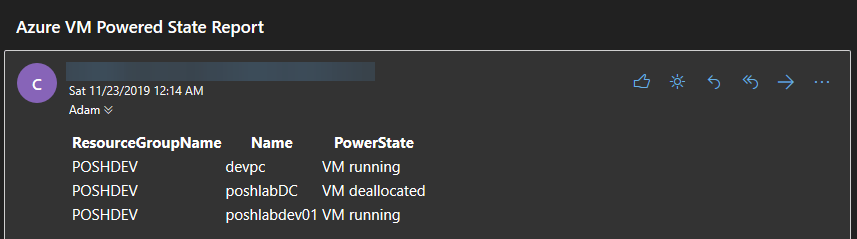
Below is the example of the HTML report generated by the runbook and sent by email.
Sample email report generated by the runbook
Summary
In this article, you learned how to import and update code into a draft runbook as well as how to edit and test it.
In the next article, I will show you how to publish the draft runbook, and execute the published runbook manually and by schedule. We’ll also look at how to check the logs.
Thank you for reading and stay tuned!

