Modify the Checkout widget's templates
The first step in the example is to modify the templates of the Checkout widget. In them you have to add UI controls for the custom fields. In this example you will create the following fields:
- Subscribe to a newsletter checkbox
In the Shipping information step page, you will add a checkbox, indicating whether to subscribe the user to a newsletter. - Gift message textbox
In the Preview step page, you will add a textbox that allow the user to enter an optional gift message for the purchase.
To modify the templates, you must perform the following:
- Open the Sitefinity CMS backend.
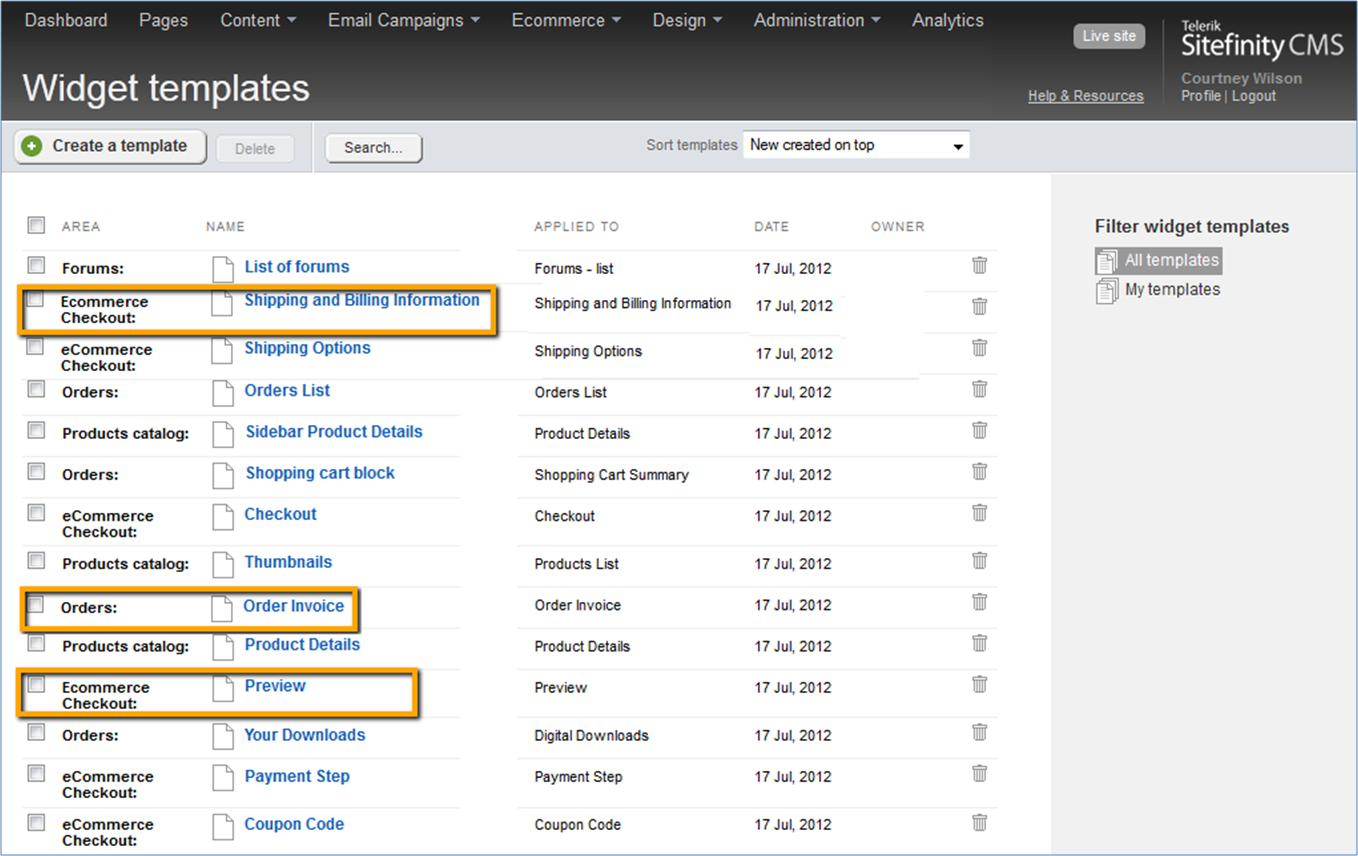
- From the main menu, select Design » Widget Templates.

- From the list of templates, you will be modifying the following:
- Shipping and Billing Information template
- Preview template
- Order Invoice template

For more information about modifying the separate templates, read the articles in this section.