Feather: Work with widget templates
Feather widgets: Overview
Feather widgets are standard MVC widgets that you can find in the widget toolbox. You place the widgets on any page or template to add specific content or functionality.
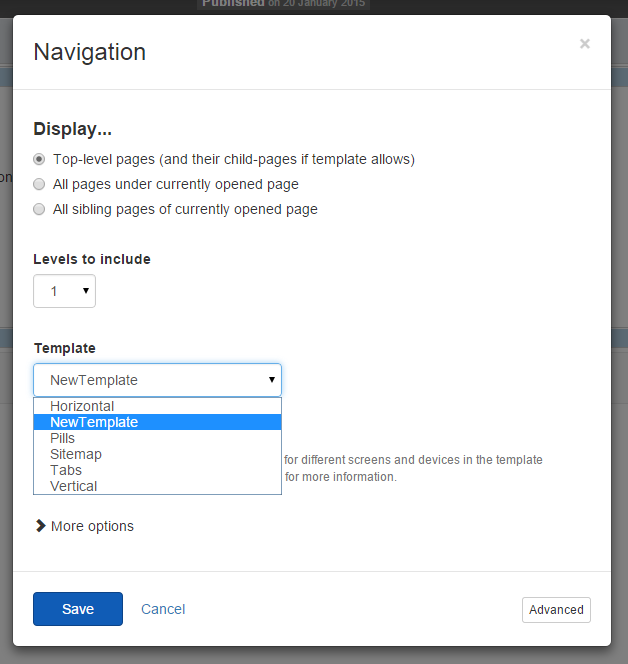
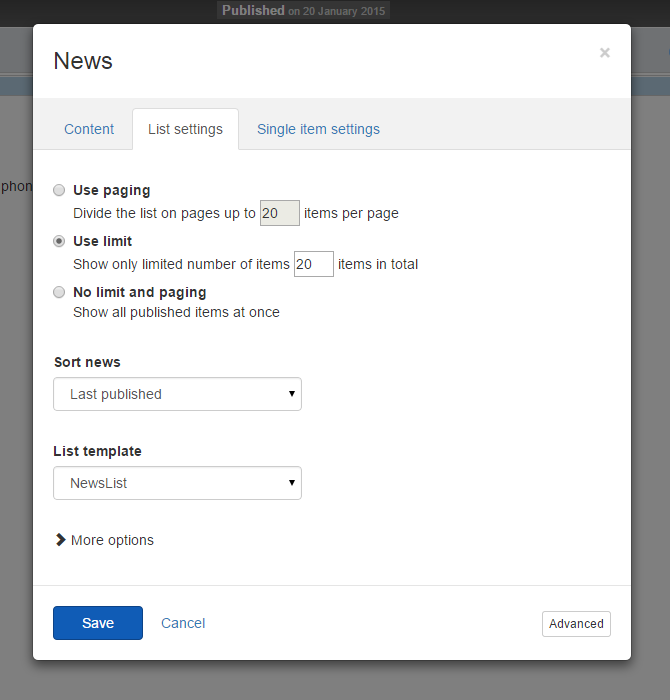
Each Feather widget provides you with options to configure the widget's preferences in the user interface. For example, the News widget has options for selecting which news to display, how to sort them, and how many news items are rendered on the page. Following is an example of how the options dialog looks like:
Widgets templates: Overview
As a frontend developer, Feather enables you to control the rendered HTML and modify the markup of Feather widget templates according to your preferences.
All Feather widget templates are located in the ResourcePackages folder in the root of your project. There is a dedicated folder for the Bootstrap framework, supported by Feather.
For more information about frontend frameworks, see Feather: Frameworks integration.
Edit widget templates
To edit widget templates, you do not need to open the file in Visual Studio and build the project and replace .dll files. You only need to edit the markup of the widget.
In the following example, you are using the Bootstrap package and you modify the markup of the News widget. To do so:
- Navigate to
%project-root%/ResourcePackages/Bootstrap/MVC/Views/News
- Choose the template you want to edit.
Detail or List.
- Edit the file and save it.
- Refresh the browser.
As a result, the template of the News widget is changed.
Create new widget templates
From the backend
To create a new widget template for the Login form widget in the backend:
- Navigate to Design » Widget Templates » Create a template.
- From the dropdown menu, choose
<type of widget>.
NOTE: The name of your template must start with <type of widget>.
EXAMPLE: If you are creating a template for Login form widget, choose LoginForm (MVC) and start your template name with LoginForm. Once you create the new template, you can use it when you open the Login form widget for editing.
In the file system
You can also create a new widget template by adding it directly into the file system:
- Navigate to your project folder »
~\MVC\Views.
- Create a
<widget type> folder.
- Add a new view as a
.cshtml file with <widget type> in its name. Once you create the new template, you can use it when you open the respective widget for editing.
EXAMPLE: If you are creating a template for Login form widget, create aLoginForm folder. IncludeLoginWidget in the name of your new view file.
The following example demonstrates how to create new widget template when you are using the Bootstrap package.
- Navigate to the
%project-root%/ResourcePackages/Bootstrap/MVC/Views/News folder.
- Depending on what view you want to create, duplicate one of the following:
- List template to create a new List view
- Details template to create a new Details view
- Name the new file, using the following convention:
List.[ViewName].cshtml or Detail.[ViewName].cshtml
NOTE: The view name is the name that is used for the file and how it is displayed in the backend.
- Open the file and make your changes.
- Save the file.
As a result, you can see the new widget template in the widget designer when you expand the Template dropdown menu: